

Since AutoDiscovery, connecting Outlook to Exchange via the internal network has become child's play. However, if you also want to connect Outlook to Exchange via the Internet, you have several options. The most convenient way is Outlook Anywhere (RPC over HTTPS). With this option, Outlook connects to the Exchange server via port 443 (HTTPS) and works just as conveniently as if it were on the internal network. Users with notebooks who are often on the road and need to access their mailbox and other information from anywhere will quickly appreciate Outlook Anywhere. The setup is simple.
First start the Exchange Administration Console and switch to the Client Access role in the server configuration
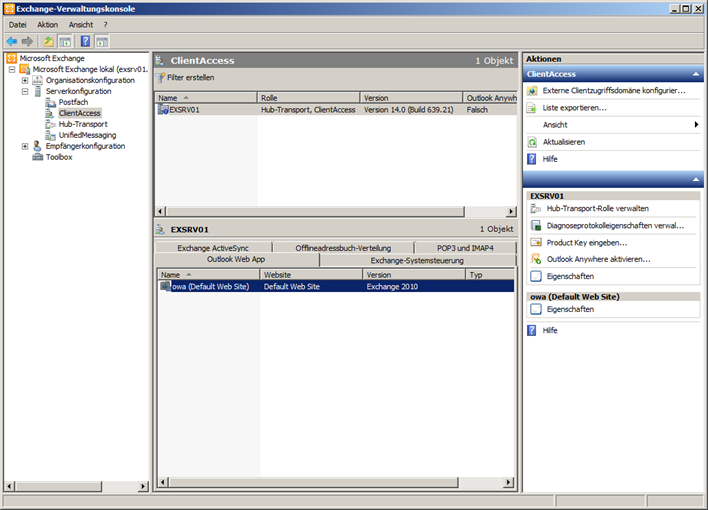

Im Feld Aktionen klickt man nun auf „Outlook Anywhere aktivieren“. Es öffnet sich ein neuer Konfigurationsdialog:
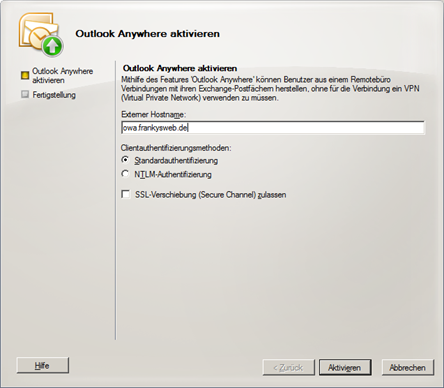

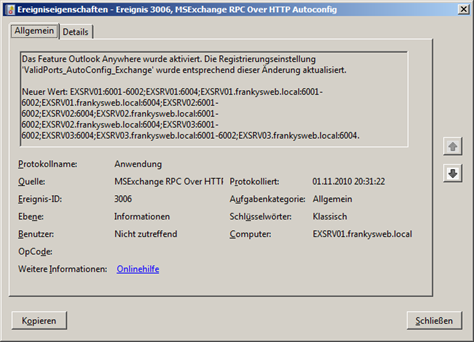
Im Feld „Externer Hostname“ gibt man den FQDN an, von dem Exchange vom Internet aus erreichbar sein soll (Beispielsweise „owa.frankysweb.de“). Die Clientsauthentifizierungsmethoden belassen wir auf „Standardauthentifizierung“. Dann klicken wir auf „Aktivieren“. Die nächste Meldung zeigt uns das Outlook Anywhere mit einem Zeitabstand von 15 Minuten aktiviert wird. Wir sollten also nach etwa 15 Minuten diesen Eintrag im Anwendungsprotokoll finden:

Depending on the configuration of the network, a few specific changes must now be made. In my test environment, the network configuration looks like this:
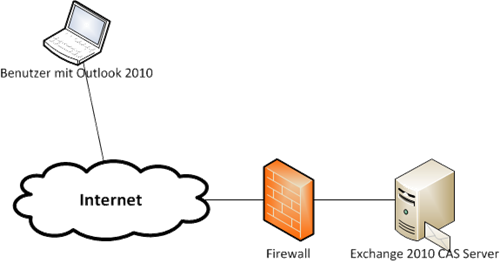

As my Exchange server is behind a router with a firewall/NAT, I activate port forwarding on the router. This means that I forward port 443 (HTTPS) from the external IP address of the router to the internal IP address of the Exchange server. This is already done in most Exchange environments, as Outlook Web App is often provided.
That was all on the server side. In the internal network, the changes are distributed via AutoDiscovery so that normally no further configuration is necessary on the clients. However, if there are employees who are not directly connected to the company network, Outlook Anywhere must be set up separately. For a new Outlook profile, this is done as follows:
Zuerst Outlook starten und auf „Weiter“ klicken.

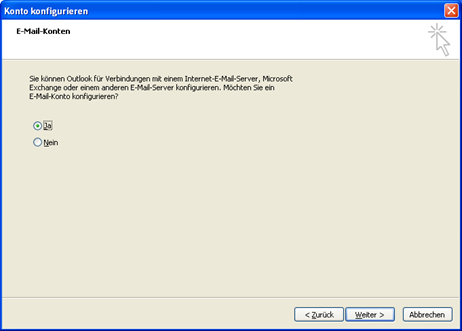
Dann klicken wir die Checkbox „Ja“ an und klicken auf wieder auf „Weiter“

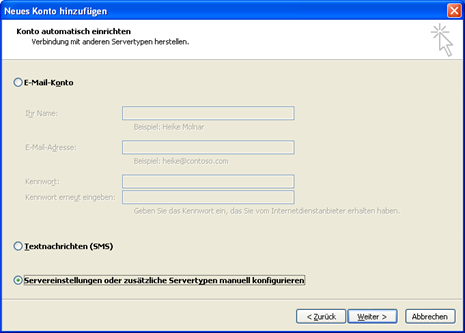
Jetzt wählen wir die Checkbox „Servereinstellungen oder zusätzliche Servertypen manuell konfigurieren“ aus und klicken auf „Weiter“

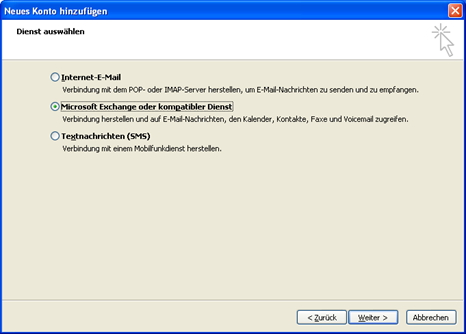
Im nächsten Fenster wählen wir „Microsoft Exchange oder kompatibler Dienst“ aus und klicken auf „Weiter“

Im Feld „Server“ geben wir nun den internen FQDN des Exchange Servers an, also noch nicht den eben konfigurierten externen Hostnamen. Dann geben wir noch den Benutzernamen an und klicken auf „Weitere Einstellungen“.
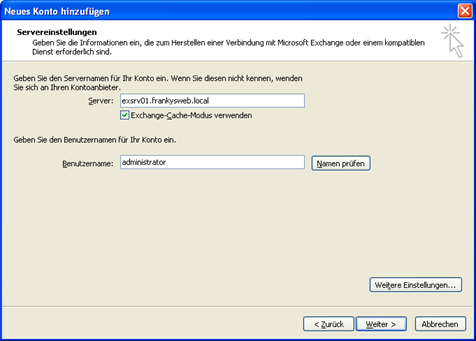

In dem sich öffnenden Fenster klicken wir auf den Reiter „Verbindungen“ und aktivieren die Checkbox „Verbidung mit Microsoft Exchange über HTTP herstellen“, dann klicken wir auf „Exchange Proxyeinstellungen…“


Im URL Feld geben wir nun den externen FQDN an, in unserem Beispiel „owa.frankysweb.de und ändern noch die Proxyauthentifizierungsmethode auf „Standardauthentifiezierung“


Jetzt können wir alle Fenster mit OK schließen, es folgt eine Warnung das die Einstellungen erst beim nächsten Outlook Start angewendet, außerdem sollte eine Abfrage für Benutzernamen und Passwort auftauchen. Hier geben wir den Benutzernamen im Format „Domäne\Benutzer“ und speichern das Passwort ab.


Outlook should now also be able to connect via Outlook Anywhere or RPC over HTTPS. In the case described here, it is important that the SSL certificates are configured correctly. An article on this will follow.