With Service Pack 1, the Edge Transport Role is also available for Exchange 2013. If you wanted to use the Edge Transport Role before Service Pack 1, you had to install Exchange 2010 or Exchange 2007 as Edge. In this article, I describe the installation of the Exchange 2013 Edge Transport Role on a Windows Server 2012 R2.
Before the Edge role can be installed, the server and the environment must be prepared. However, the preparations are quickly completed.
The server on which the Edge Transport role is to be installed should be placed in a DMZ and not be a member of the Active Directory. It is sufficient to configure a DNS suffix under which the Edge Transport server can be reached:
So my Edge Server is called Edge1.frankysweb.de, this entry must of course also be made known in the DNS, internally and externally the server must be resolvable under this name (the MX record should also point to the Edge Server if the Edge Server is to receive the mails from the Internet):
The firewall between the DMZ and the internal network must allow port 50636 (TCP, Secure LDAP) and port 25 (TCP, SMTP) to the mailbox servers. The Windows Firewall settings on the Edge Server are created automatically.
That's all the preparations. The rest is installed automatically by the setup. In the setup dialog, "Do not use recommended settings" is selected
The Edge Transport role can then be selected
The prerequisites should be checked without errors and the Exchange Edge Transport role can be installed
Installation complete. When selecting the roles, the "Administration tools" checkbox is ticked, but only the Exchange Management Shell is installed. The web-based EAC is not available on an Edge Transport Server.
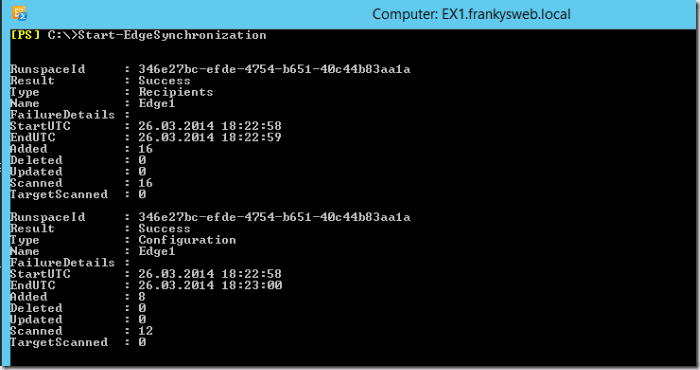
After installation, the Exchange organization must be introduced to the Edge Transport Server. To do this, the subscription is first created on the Edge Server:
New-EdgeSubscription -FileName "C:\EdgeSubscription.xml"
The file must now be copied to an internal Exchange server and read in:
New-EdgeSubscription -FileData ([byte[]]$(Get-Content -Path "C:\EdgeSubscription.xml" -Encoding Byte -ReadCount 0)) -Site "Default-First-Site-Name"
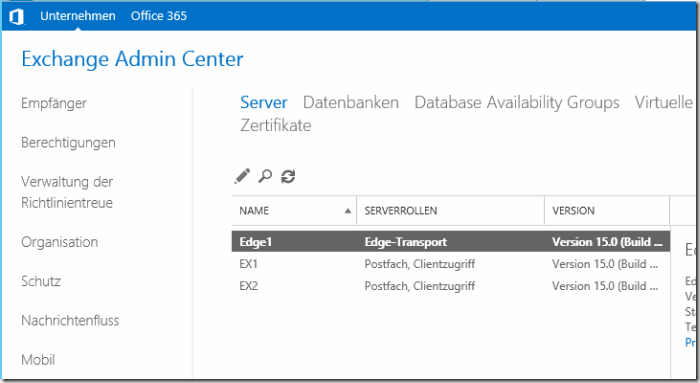
When the initial synchronization is complete, the Edge Transport Server is also visible in the EAS:
The configuration and the possibilities offered by the Edge Transport Server will follow.


Wo bleiben denn die Konfiguration und Möglichkeiten des Edge Transport Servers? ;-)