Exchange 2016 does not make any major demands on a load balancer. Exchange 2010 still made a few demands on a load balancer (session persistence, affinity), but Exchange 2016 is far more modest in this respect. In principle, simple RoundRobin is sufficient here. I currently have an F5 BigIP LTM in version 11.6 to hand. So here is a first small test in my test environment.
In the first part of the article series, I am only concerned with the functional test of the iApp. I will therefore not go into much detail here and the configuration is not yet complete. The second and perhaps third part will deal with optimizations.
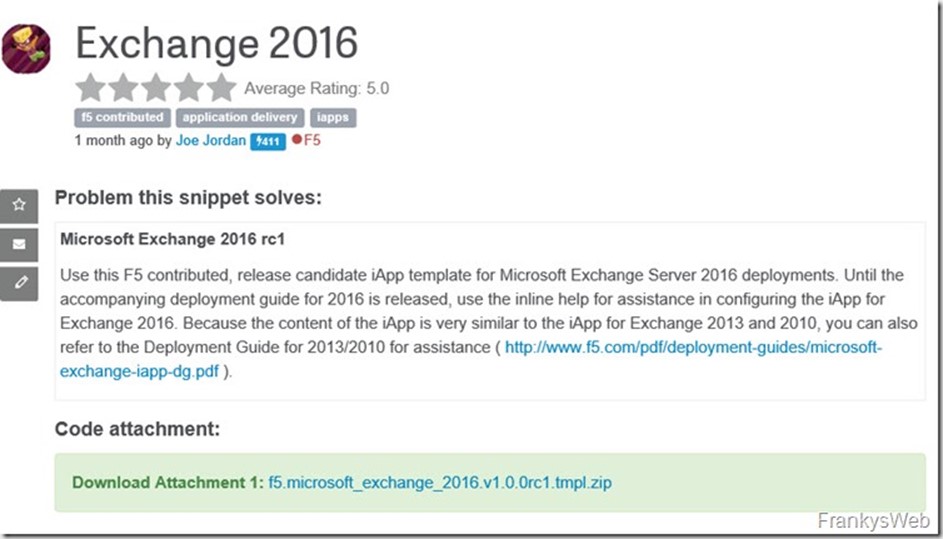
As of today, F5 has released a release candidate for the Exchange 2016 iApp. The corresponding iApp can be found here:
https://devcentral.f5.com/codeshare/exchange-2016?lc=1
Once the iApp template has been downloaded and unpacked, it must be imported onto the LTM:
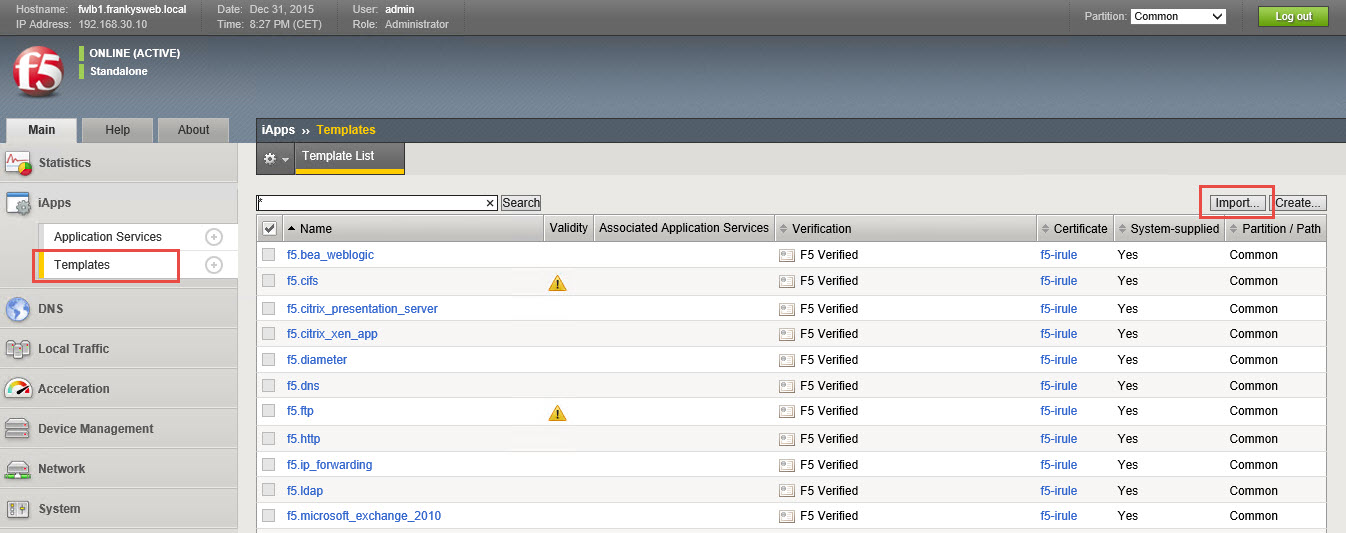
Select .TMPL file and click on "Upload"

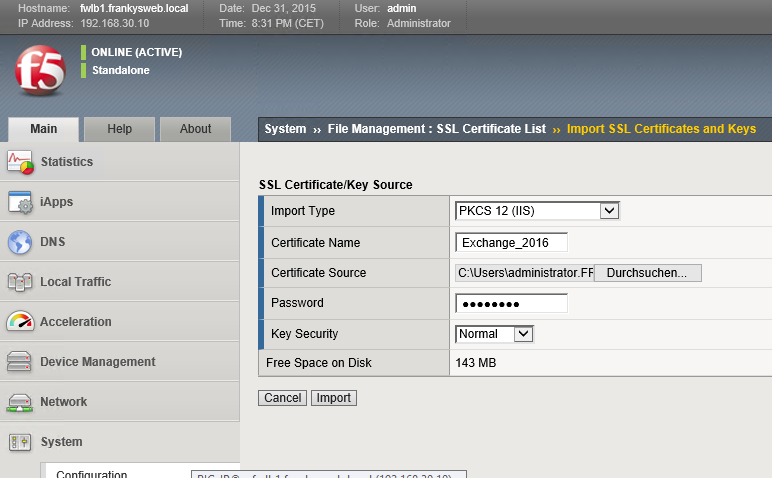
While we are uploading, we can also directly import a suitable certificate for the Virtual Service.
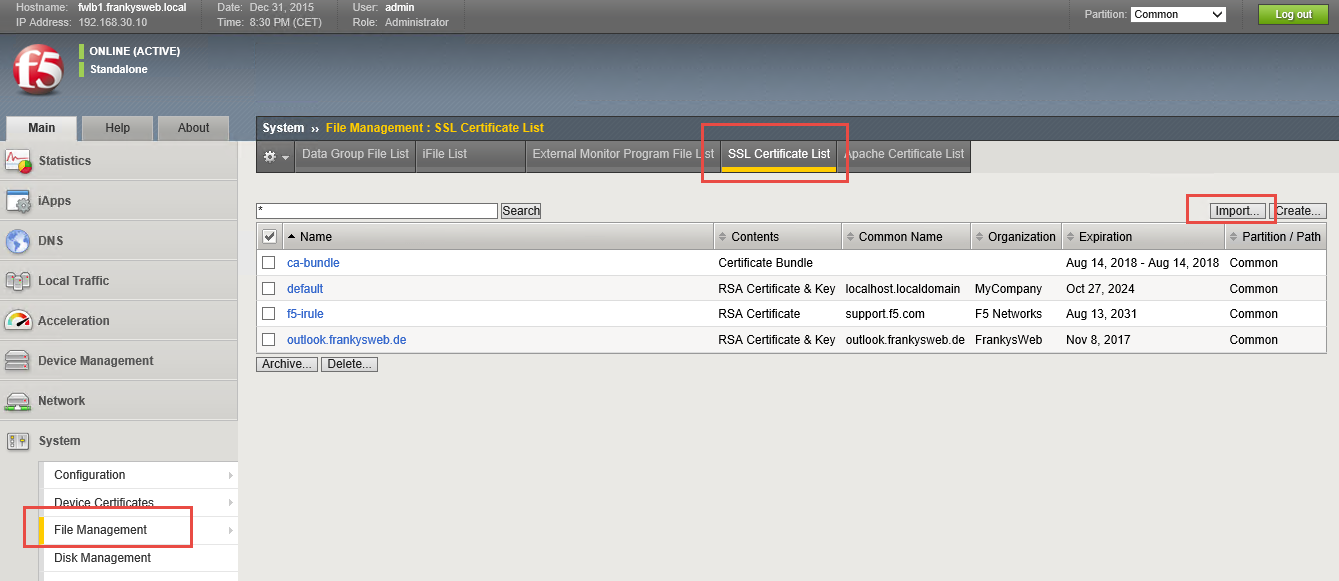
Select and import the corresponding PFX file
The iApp can now be created and configured
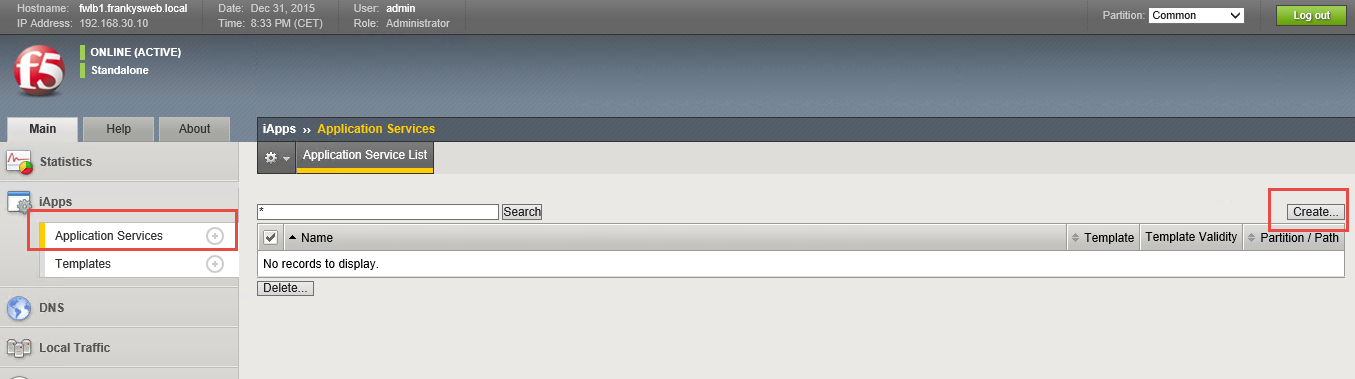
The template you have just uploaded must be selected as the template and a corresponding name assigned:

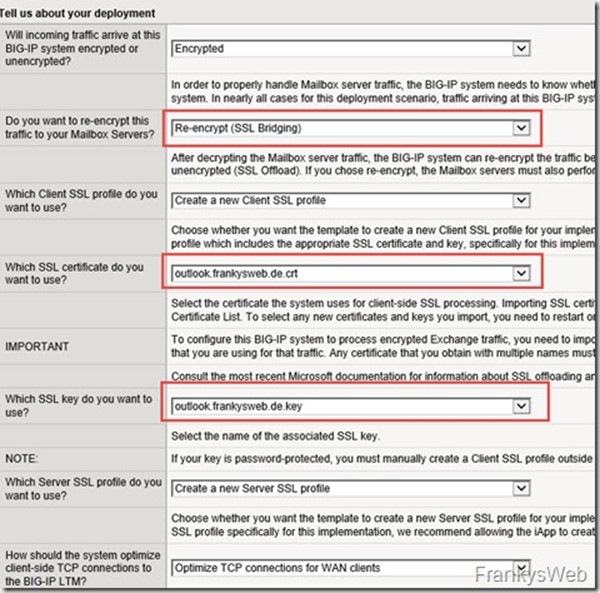
Now you can start with the configuration, I have marked the parts of the configuration that I have changed:
At this point I make it easy for myself, I use SSL bridging to make as few changes to the Exchange environment as possible. The certificate that was previously imported is also selected here.
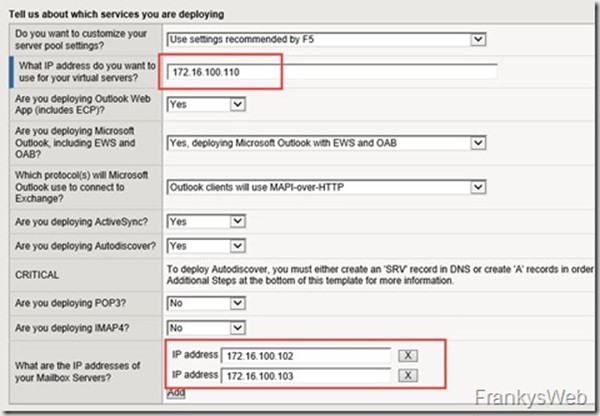
The next step is to enter the IP for the virtual service and the IPs of the Exchange servers.
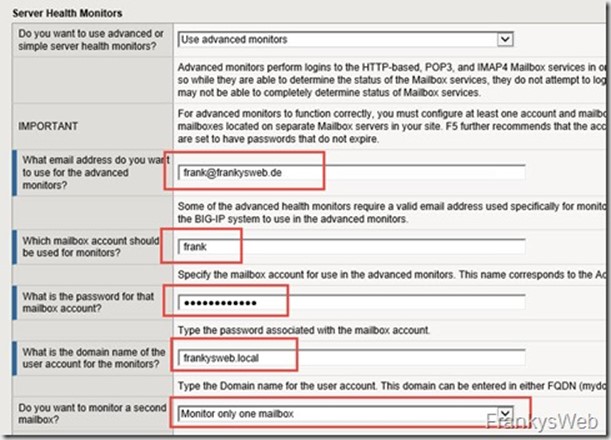
Here, too, I'll keep it simple for the first test. I only configure one mailbox for the monitor. Of course, 2 mailboxes should normally be specified here (remember that the AD passwords must not expire)
After saving the iApp, it should look something like this:
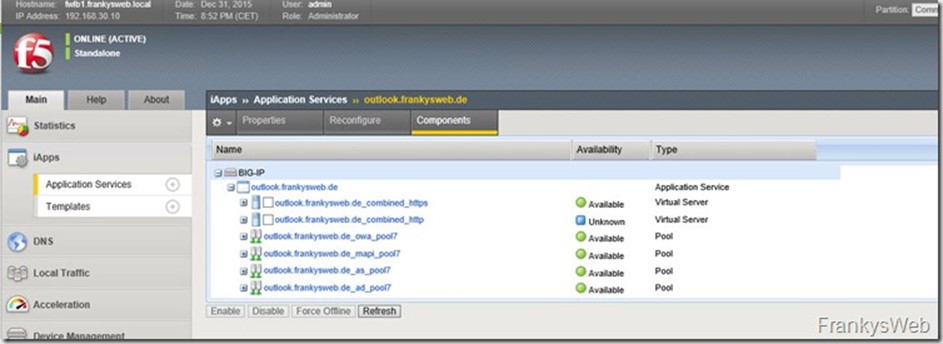
Don't be surprised if a service is marked with the status "Unknown". This is just the HTTP to HTTPS redirect, which has no monitor, so it's perfectly OK.
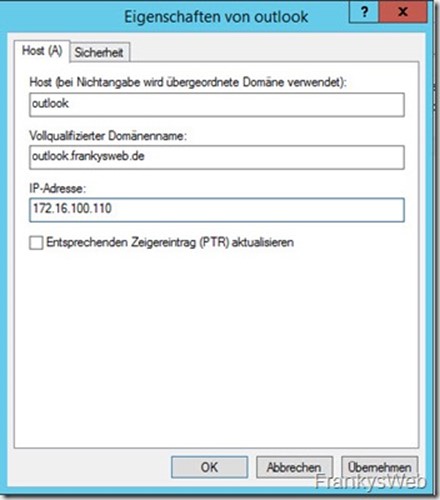
Now the DNS entries must be adjusted accordingly:
outlook.frankysweb.de and autodiscover.frankysweb.de must now point to the IP address of the Virtual Service:

After the DNS settings have been adjusted, Outlook can be tested. Running! :-)
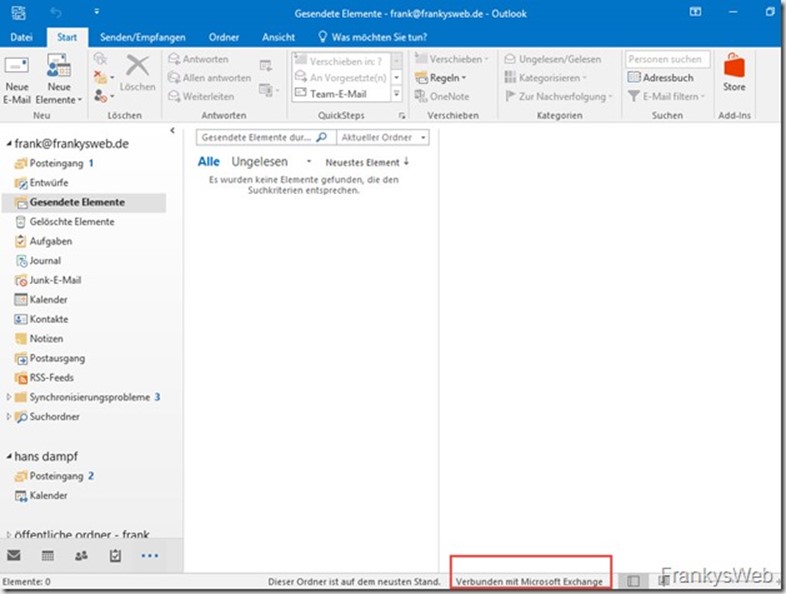
After a few tests, I couldn't find any problems with the iApp. I will use this configuration as a basis for further optimizations and publish a small series of articles about it.