

The fourth part of this article series deals with the necessary adjustments to the DNS and the first tests. In part 3, the Exchange Hybrid configuration was completed to such an extent that only a small amount of configuration is now required. Essentially, once the SPF entry has been adjusted, testing can begin.
Customize DNS settings (SPF)
To ensure that emails can also be sent from Microsoft 365 accounts later on, it is necessary to adjust the SPF entry for your own domain. In a hybrid environment, it is usually necessary that emails can be sent from Microsoft 365 accounts to external email addresses as well as from the on-prem Exchange server to external addresses. To do this, the own SPF entry must not be changed as recommended by the Microsoft 365 Assistant, but extended.
The necessary settings for the SPF entry can be found in the Microsoft 365 Admin Center:
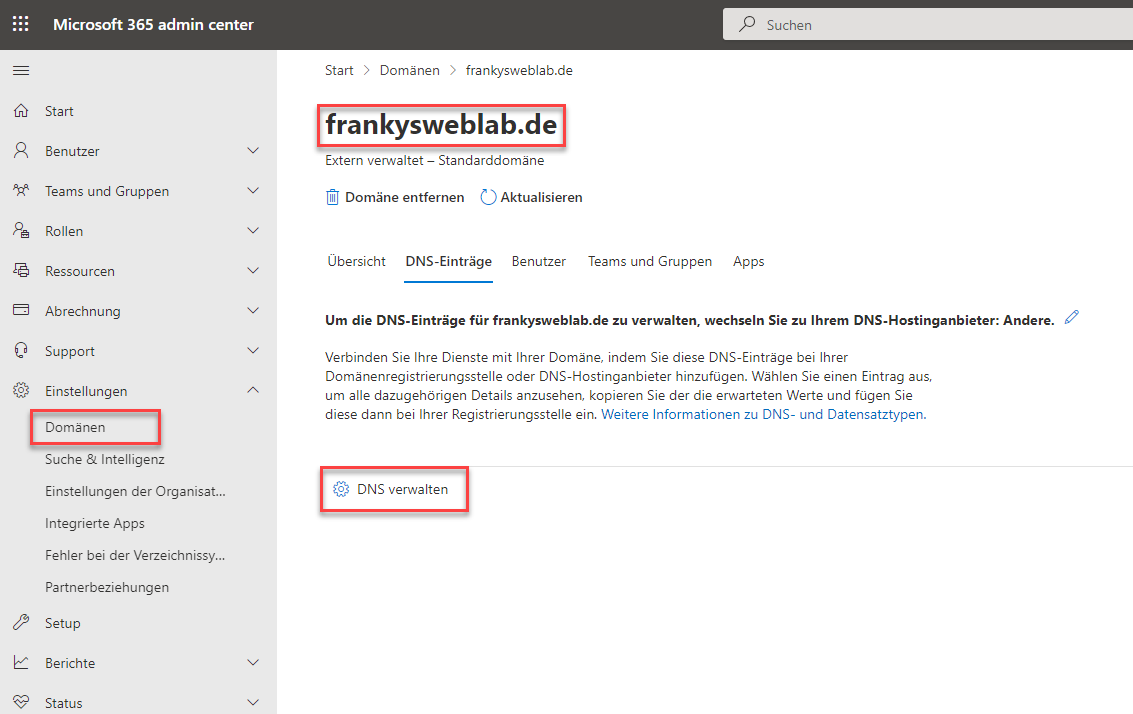
Unter dem Punkt „TXT-Datensätze“ findet sich der vorgeschlagene SPF Eintrag:
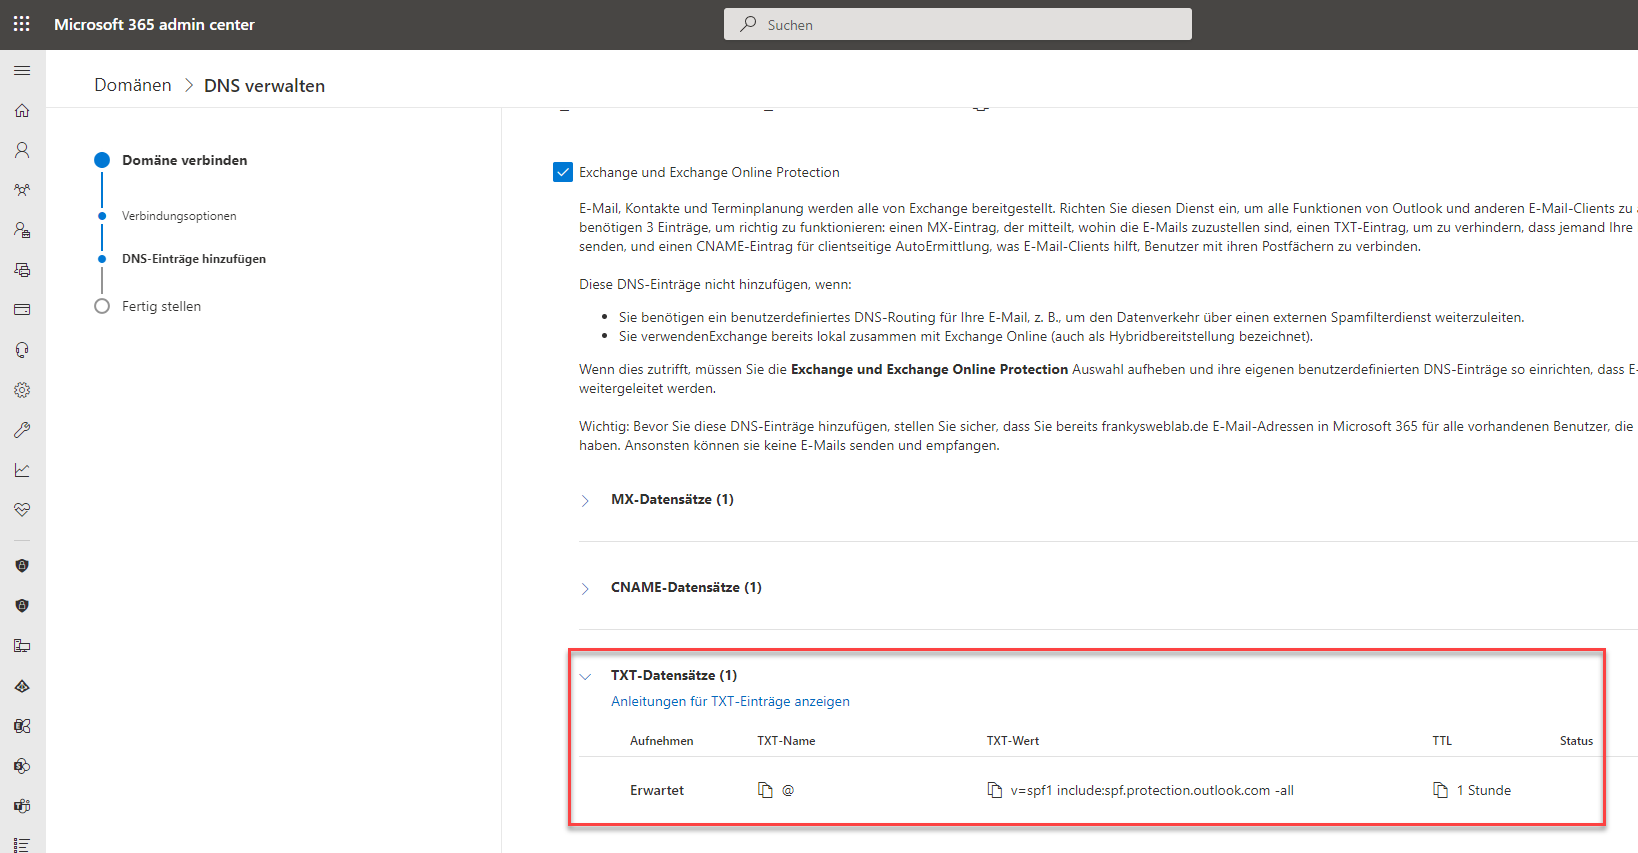
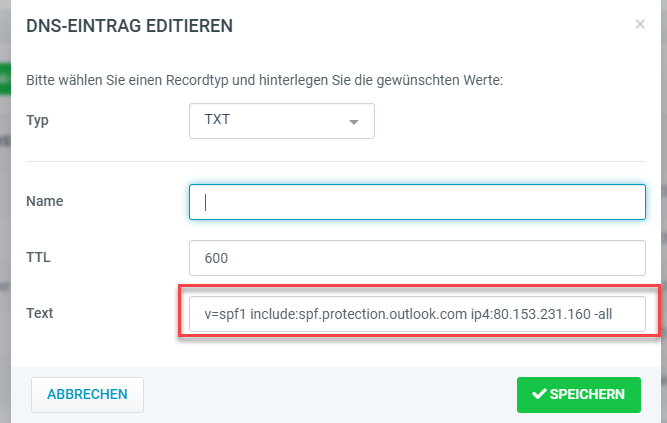
The SPF entry for the hoster of the domain is now not changed to the value suggested by Microsoft, but is extended to include the Microsoft servers. The SPF entry therefore contains your own on-prem Exchange server and the Microsoft 365 server:
The other DNS entries that are suggested by the wizard at this point must not yet be changed. Both the MX entry and the entry for Autodiscover remain unchanged for a hybrid environment and are not changed to Microsoft 365.
Create test user
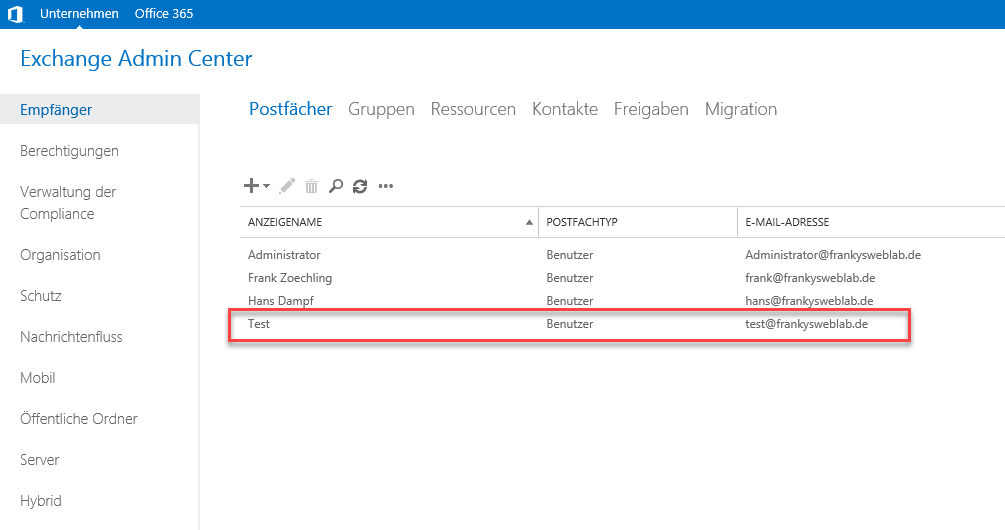
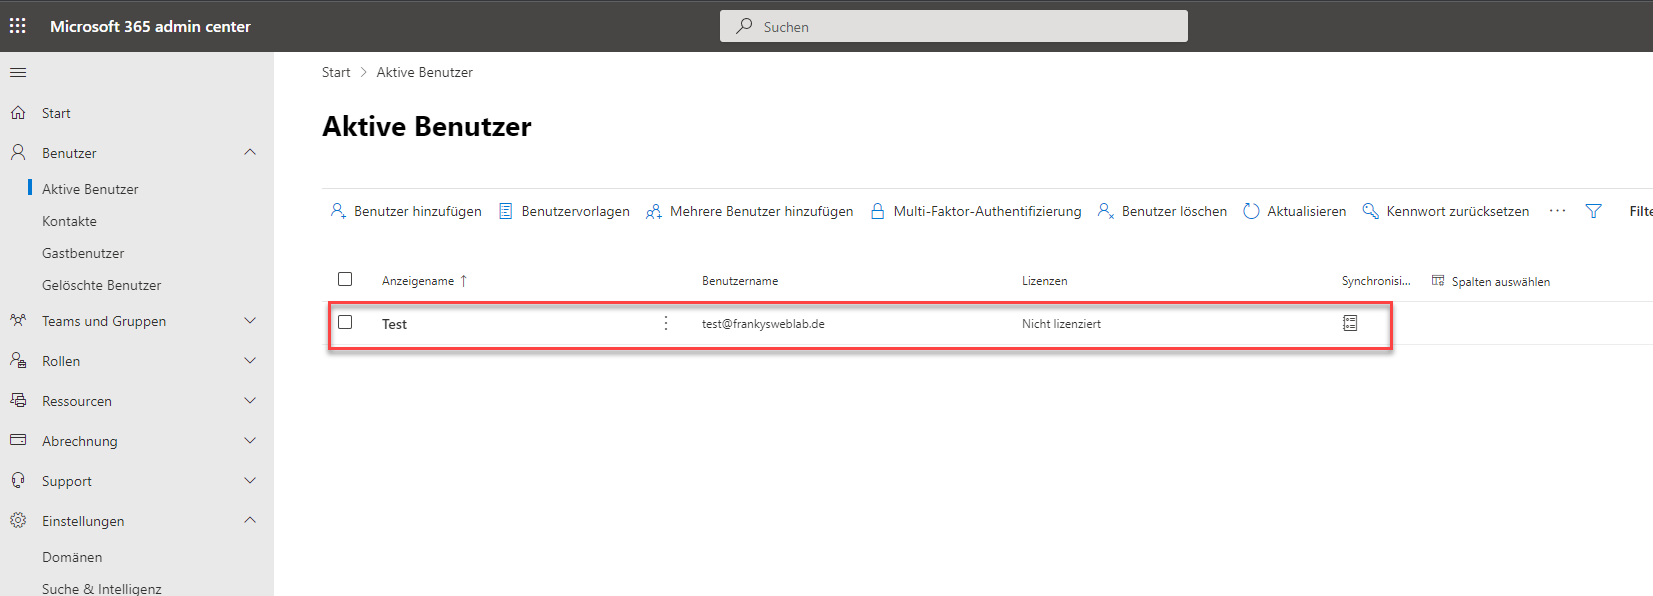
Es ist zwar nicht unbedingt nötig separate Testkonten zu erstellen, denn man könnte auch bereits vorhandene Testbenutzer verwenden. Ich richte allerdings immer ein oder zwei neue Testbenutzer ein um die Tests durchzuführen. Ich habe daher einen Benutzer mit dem Namen „Test“ angelegt und dem Benutzer ein lokales Exchange Postfach erstellt:
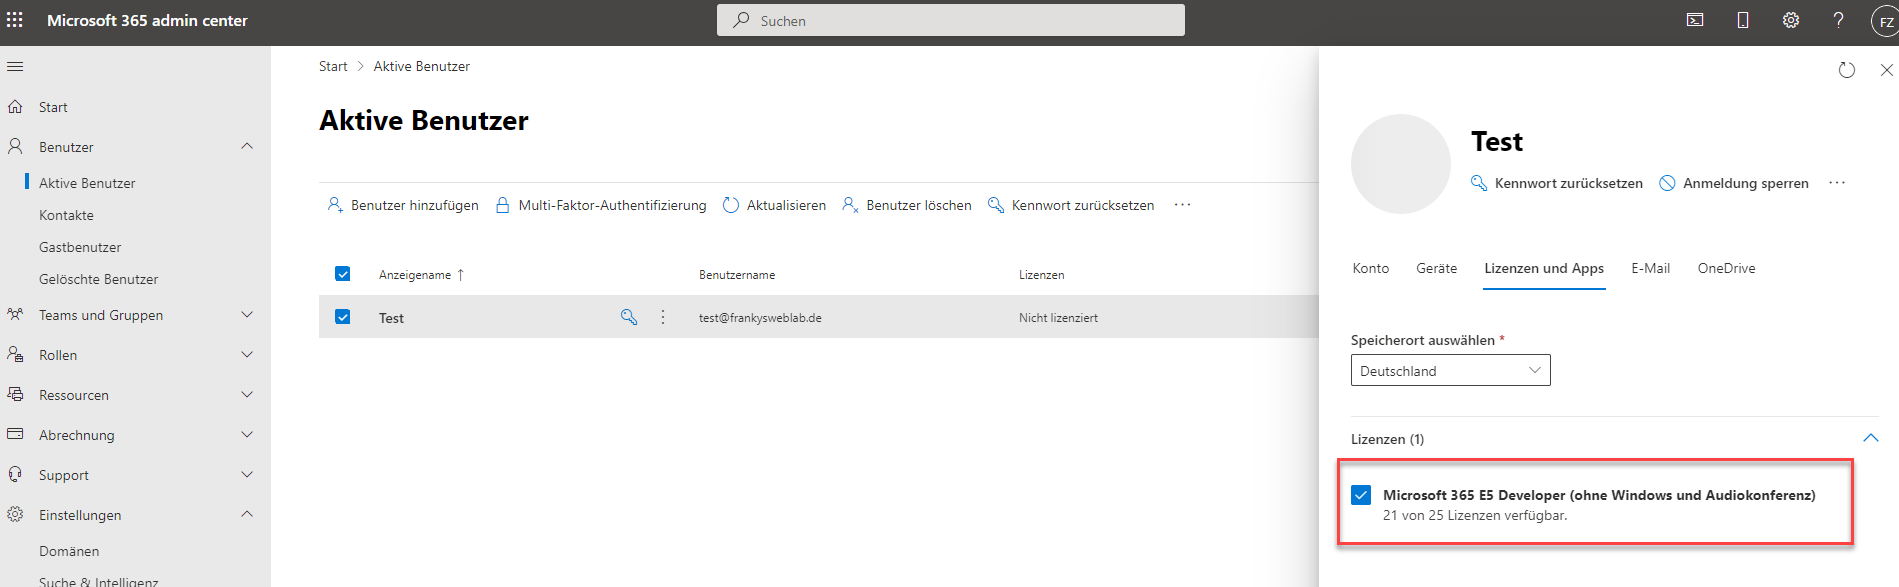
The test user is now assigned a license:
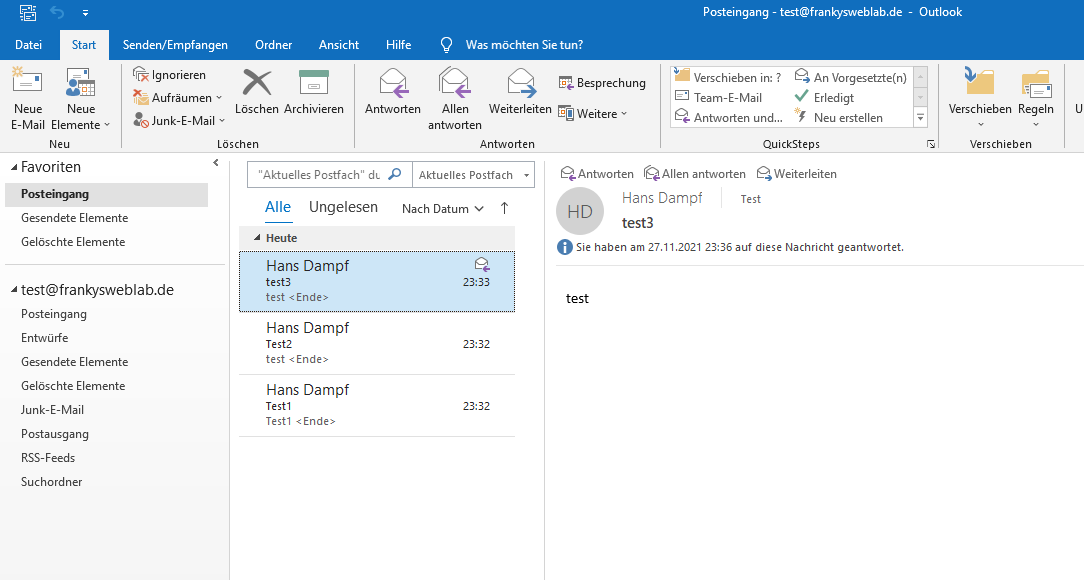
I have now sent a few mails to the new test user and replied so that there are also some mails in the mailbox:
This test mailbox is now ready for migration to Microsoft 365.
Migrate test mailbox
The test mailbox can now be moved from Exchange on-prem to Microsoft 365 via the Exchange Online Admin Center. To do this, you can log in to the Exchange Online Admin Center at the following URL:
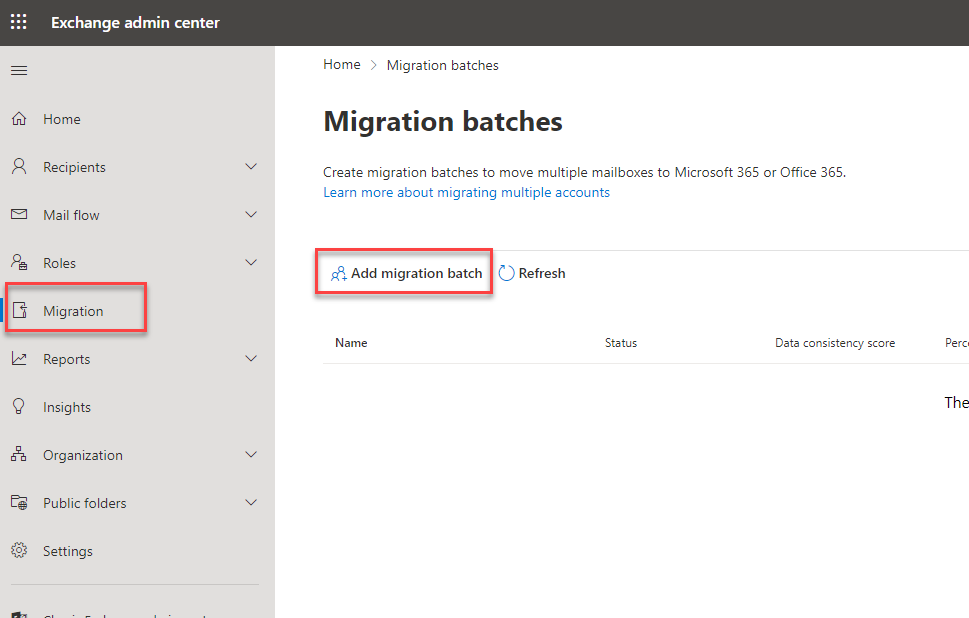
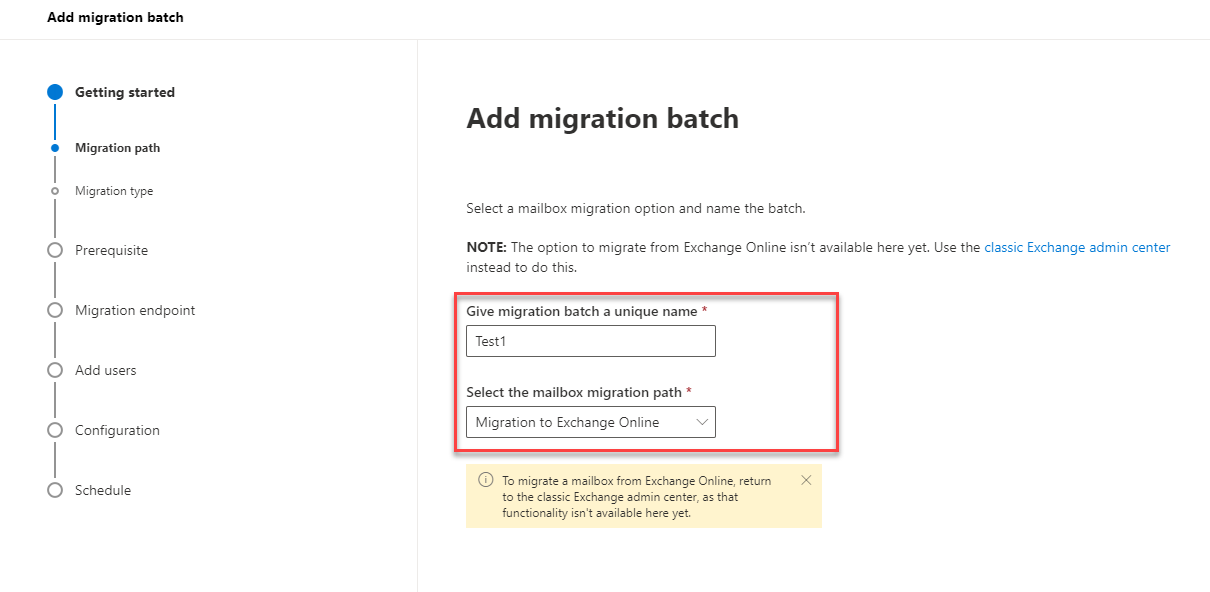
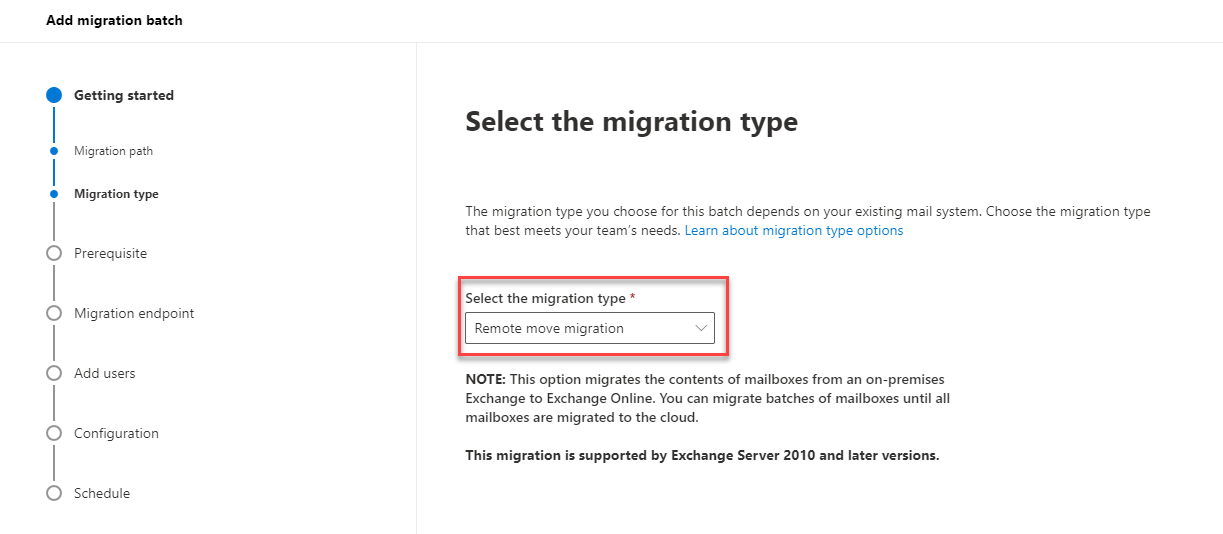
Unter dem Punkt „Migration“ kann nun ein neuer Migration Batch erstellt werden. Der Migration Batch dient dazu Postfächer von Exchange on-Prem zu Exchange Online zu migrieren:
The migration must first be given a name:
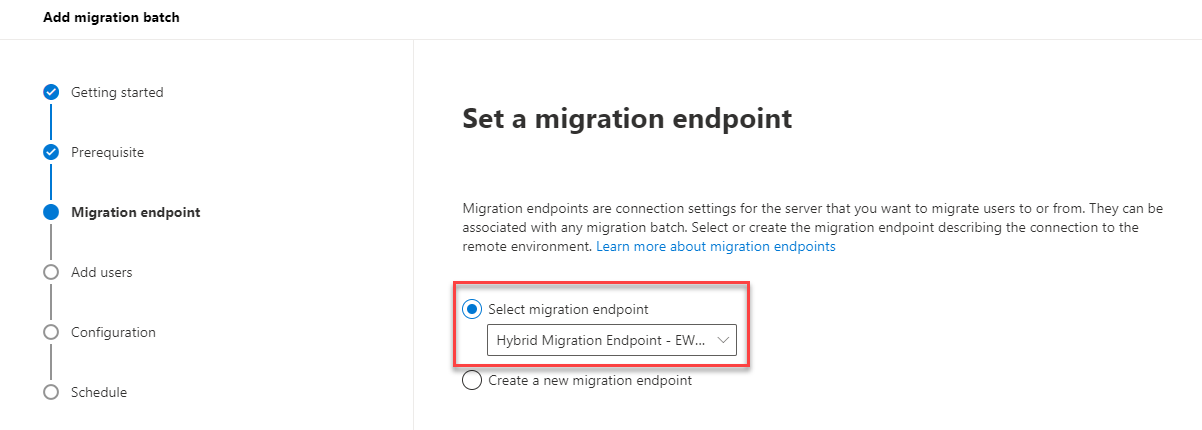
In the next step, the migration endpoint is selected. The HCW has already created an endpoint, which can be selected here:
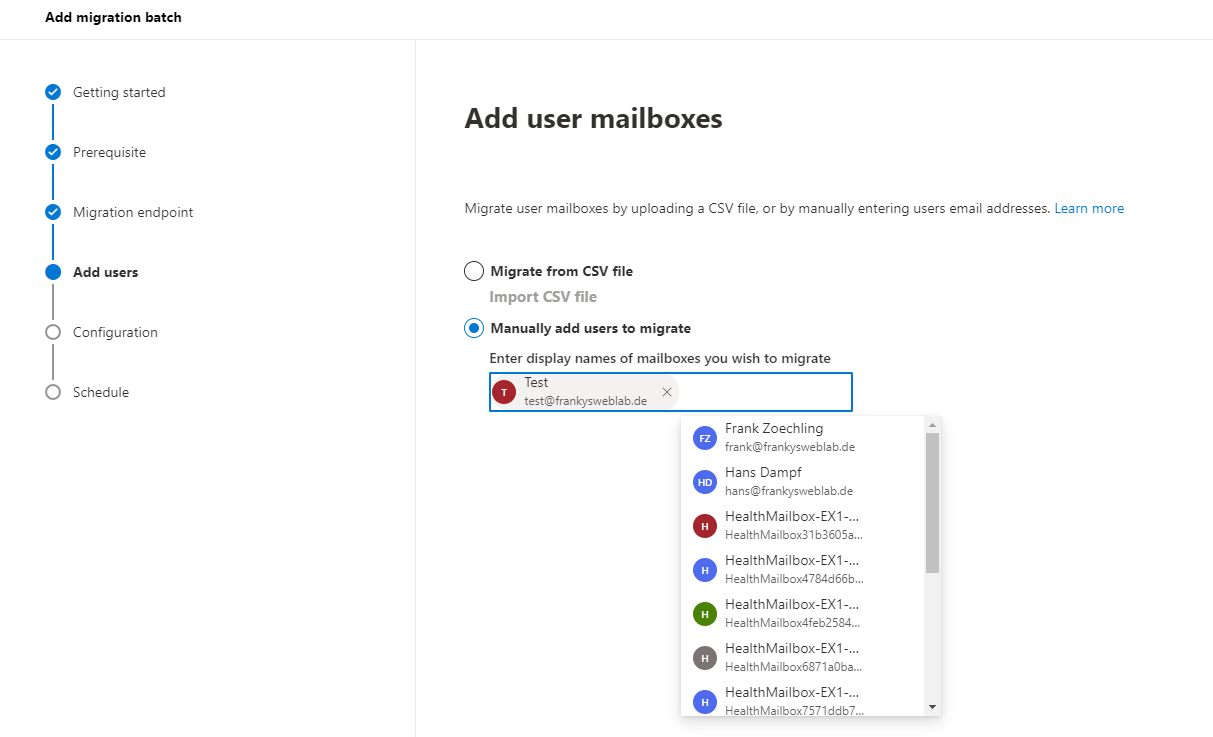
You can now select the mailboxes that are to be migrated to Exchange Online. For the first test, this is only the single test mailbox:
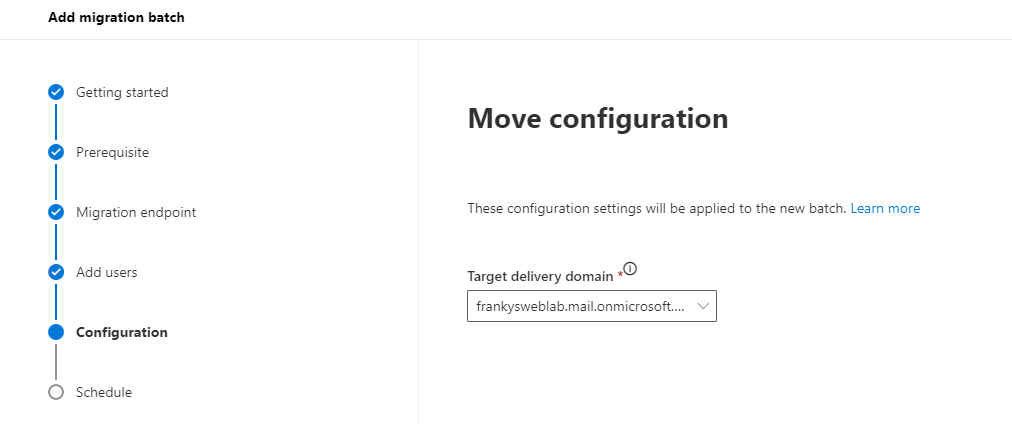
Im nächsten Schritt wird die „Target delivery domain“ ausgewählt. Die Target delivery domain dient dazu Mails zwischen on-Prem und Exchange Online zu routen. Nach der Migration des Postfachs wird der on-Prem Exchange Mails an das Testpostfach „test@frankysweblab.de“ an die Adresse „test@frankysweblab.mail.onmicrosoft.com“ (Target delivery domain) umleiten. Dies ist wichtig für das Mail Routing zwischen Exchange on-Prem und Microsoft 365:
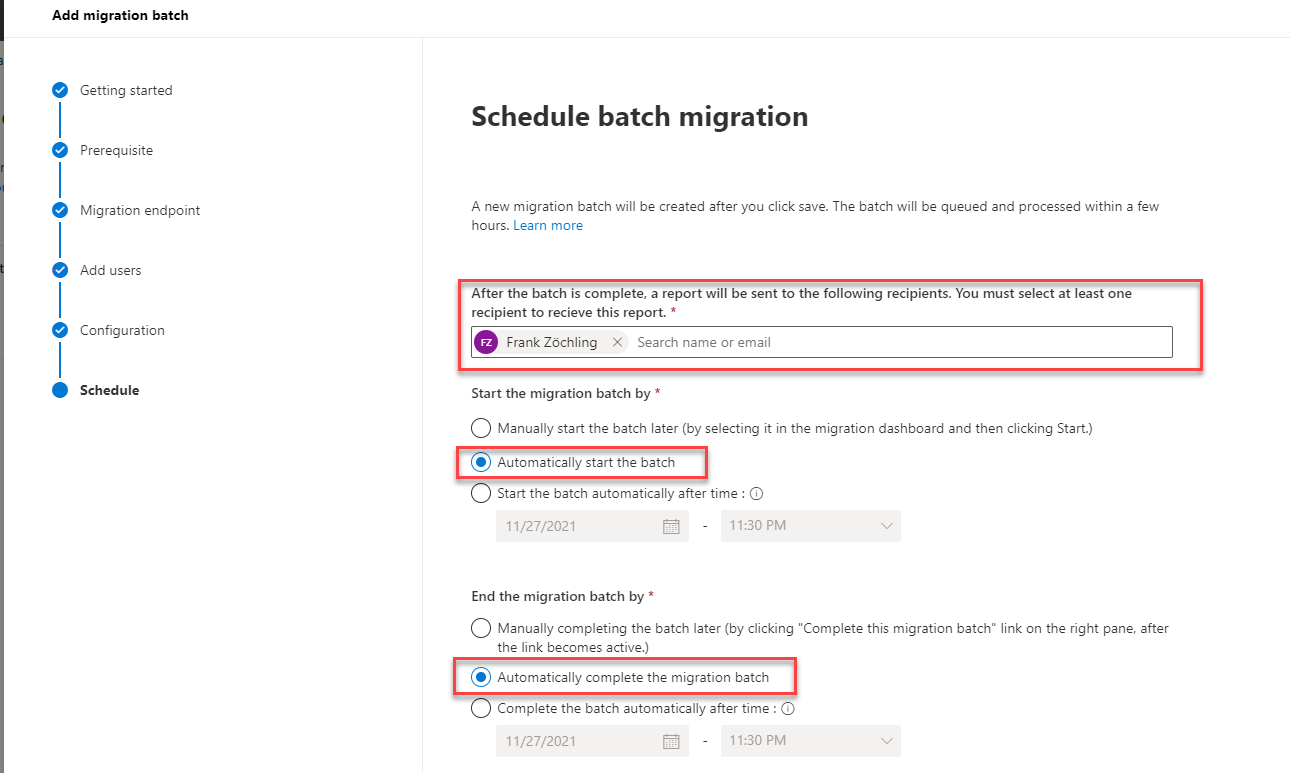
In the last step of the wizard, you can specify who should receive a notification on completion and whether the job should be started and completed automatically. The job can be started and completed automatically for the test mailbox:
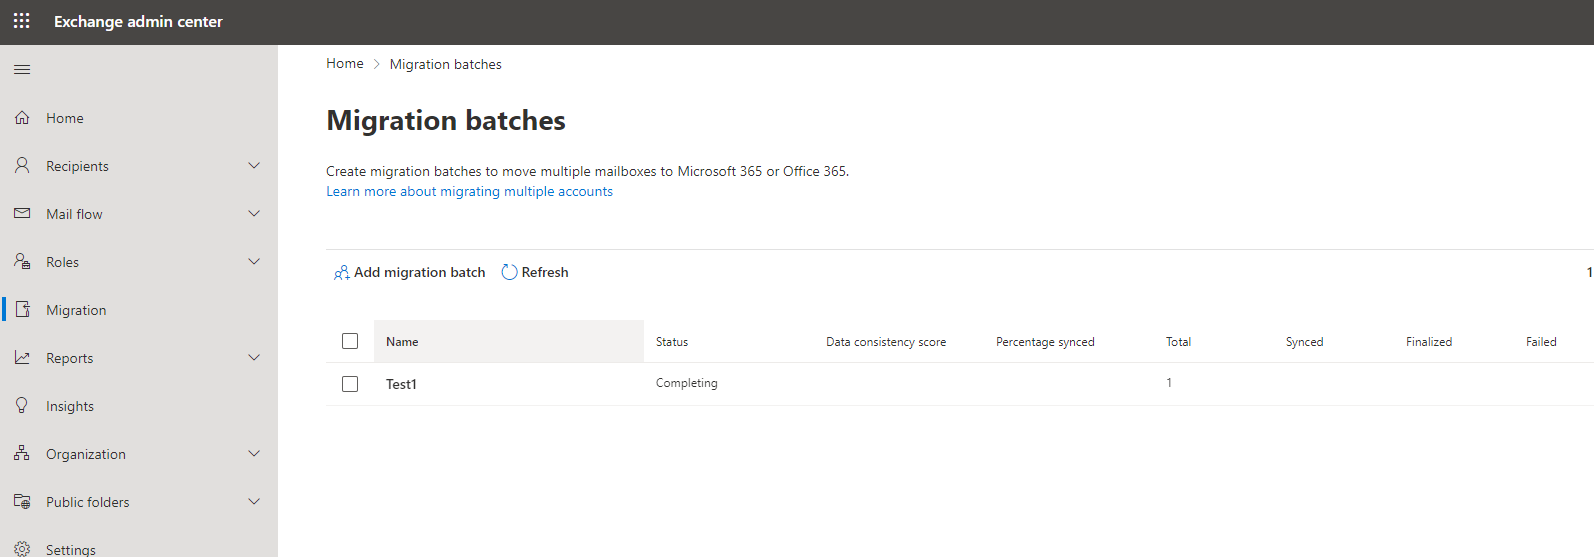
In der Übersicht unter dem Punkt „Migration“ kann nun der Status verfolgt werden:
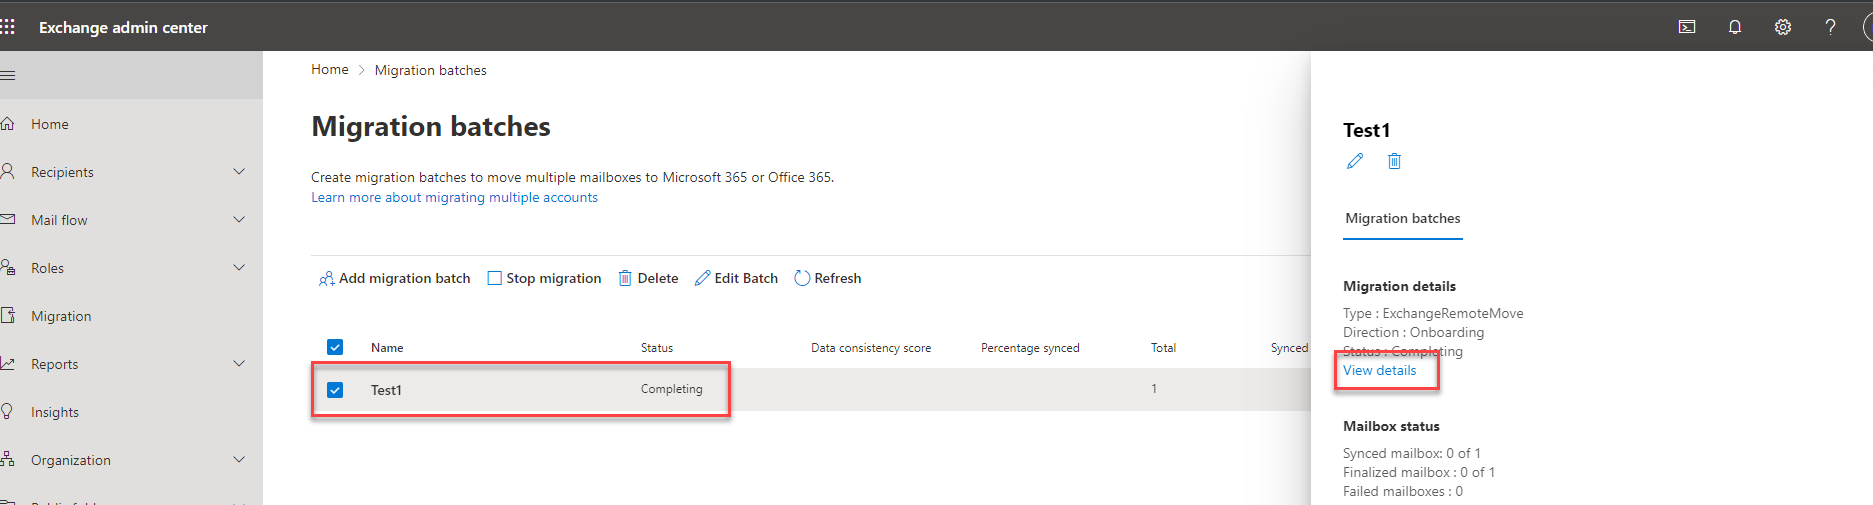
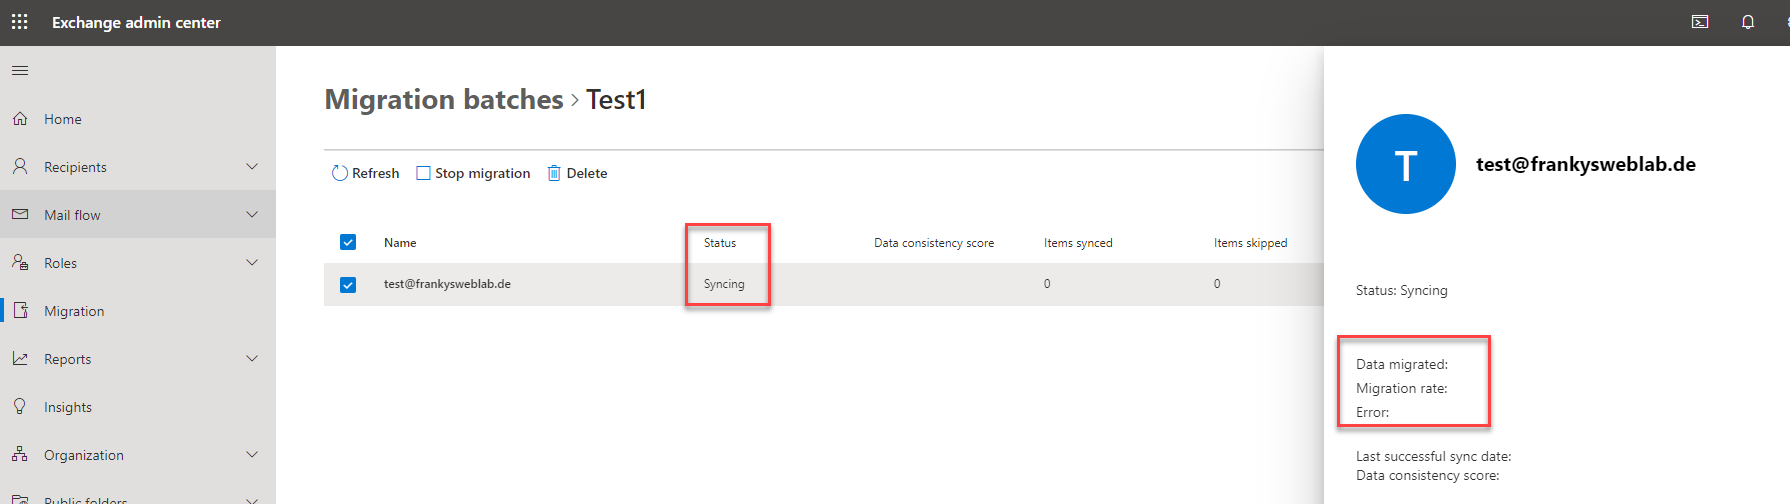
A more detailed status can also be viewed in the details of the migration batch:
Even if the test mailbox only contains a few emails, patience is now required. Depending on the utilization of Exchange Online, Exchange on-Prem, Internet connection, etc., it may take some time until the migration batch is executed and completed. As long as the job does not fail, just wait and be patient:
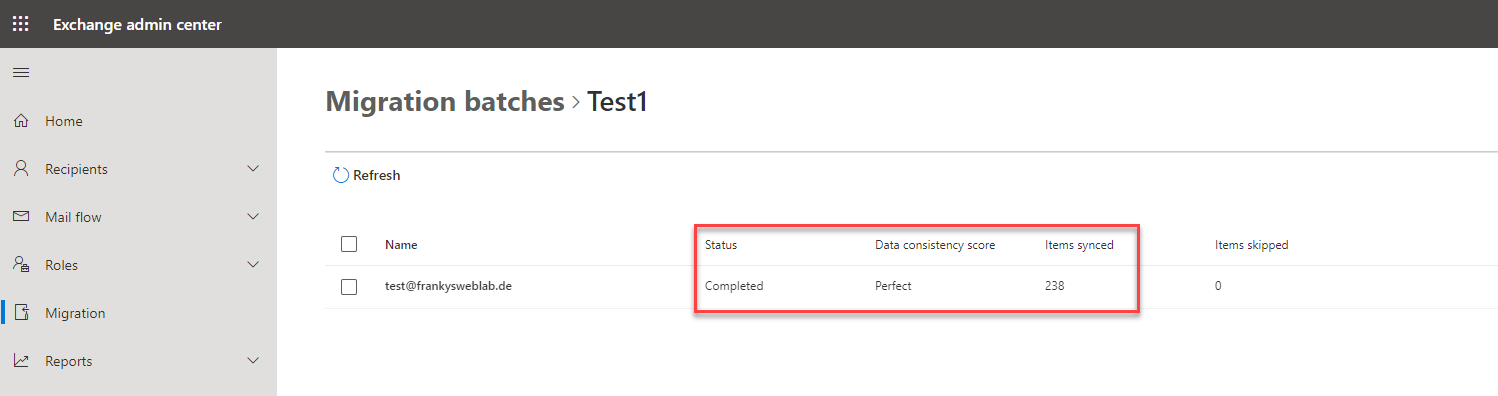
Sobald der Migration Batch abgeschlossen wurde, wird der Status zu „Completed“ geändert:
Das Postfach wird im Exchange on-Prem Admin Center nun als „Office 365“ Mailbox angezeigt:
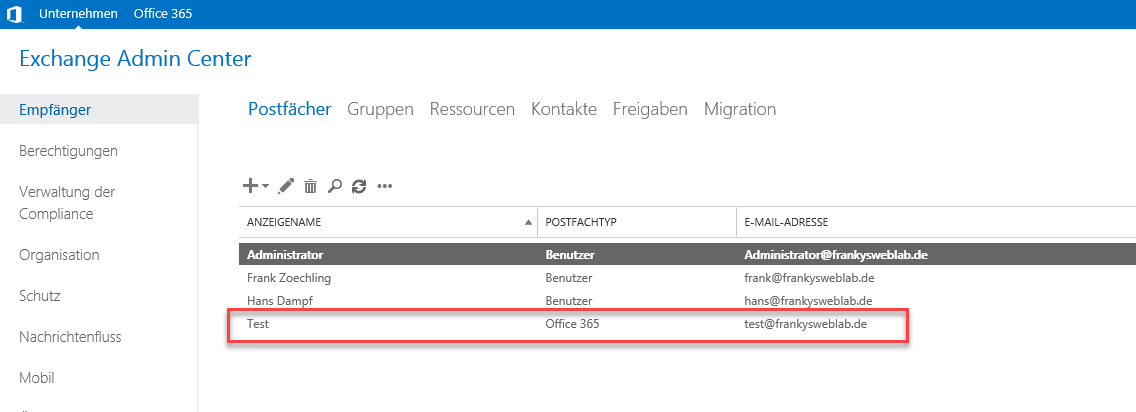
The Exchange Online mailbox can now be managed like an Exchange On-Prem mailbox. Settings for permissions or email addresses in a hybrid environment can only be managed in the Exchange On-Prem Admin Center; it is not possible to change the settings in the Microsoft 365 Admin Center.
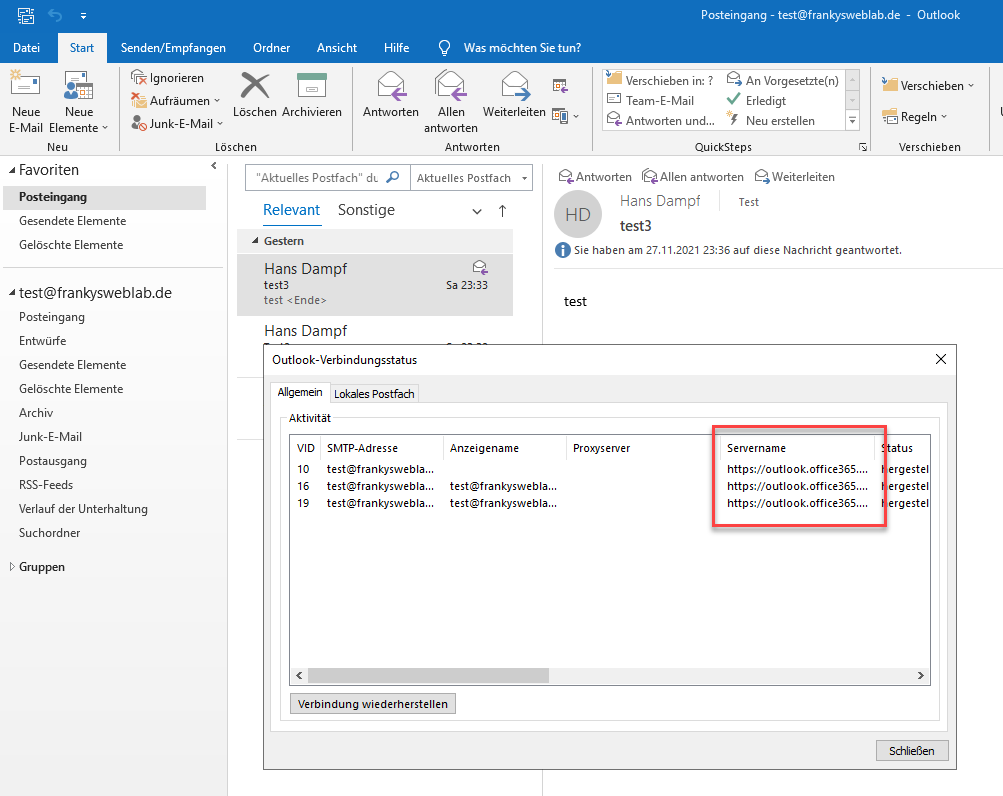
After a mailbox has been migrated to Exchange Online, the user must restart Outlook:
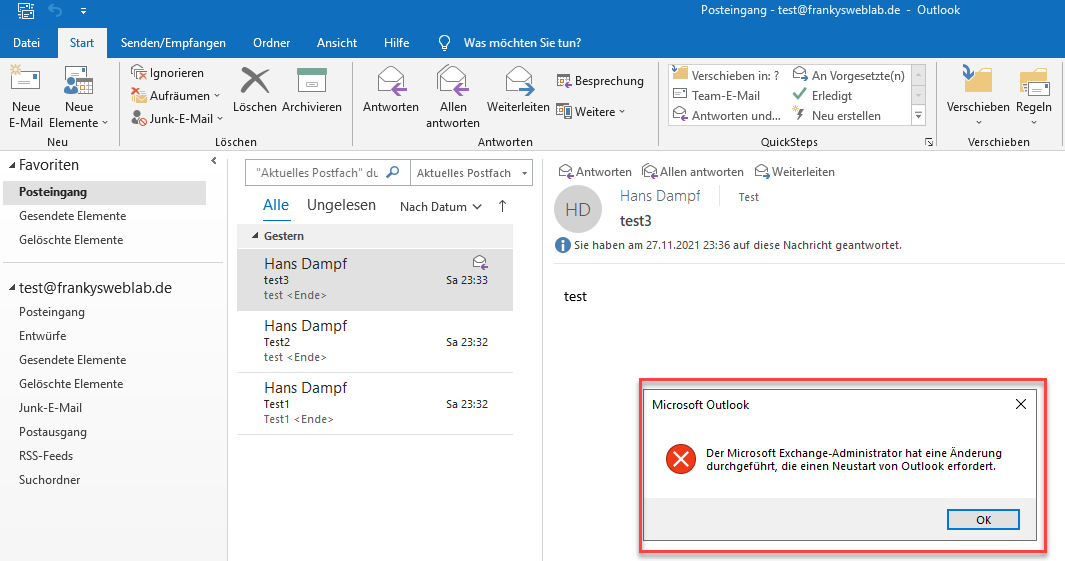
After Outlook has been restarted, the connection to Exchange Online is established:
The first test mailbox has now been successfully migrated, so the tests can now be carried out.
Test mail routing
In a hybrid environment, it is important that the mail routing between Exchange on-prem and Exchange Online works smoothly. It is therefore important to test the mail routing after moving the test mailbox. Here is a graphical representation of the mail routing for Exchange On-Prem and Exchange Online mailboxes:
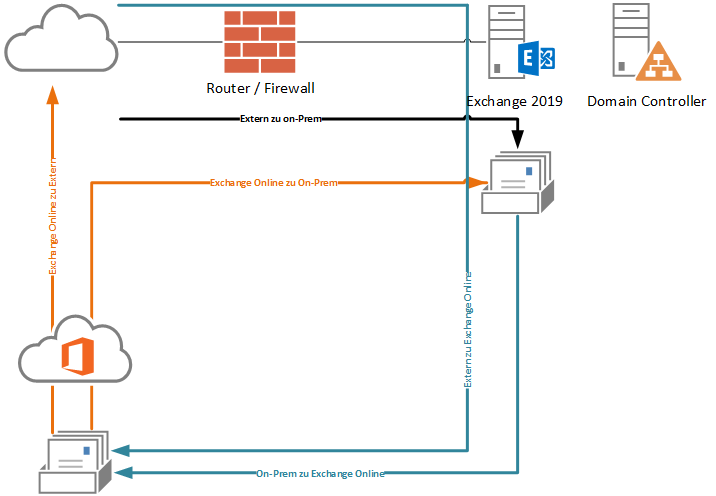
As the MX Records still points to the on-prem Exchange server, the mails for Microsoft 365 mailboxes are also routed via the on-prem Exchange. It is therefore important to test at least the following points:
- Mail from Exchange Online user to Exchange on-prem user
- Mail from Exchange on-prem user to Exchange Online user
- Mail from Exchange Online user to external mail address
- Mail from external mail address to Exchange Online user
- Calendar invitation (freely booked) from Exchange Online to Exchange on-Prem
- Calendar invitation (freely booked) from Exchange on-prem to Exchange Online
If the mail routing works, the hybrid mode is set up and further mailboxes can be migrated.
In the next article
The next article will go into detail about the migration batches and the necessity of the on-prem Exchange Server.