

Yesterday the Preview of Exchange Server 2013 published. I have now set about installing the new version. To do this, I set up a small test environment consisting of a domain controller and a member server. Both servers run under Windows Server 2012.
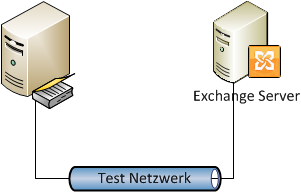

The domain controller was as described here The future Exchange Server is currently only a member of the Active Directory.
As with Exchange 2010, a few preparations must first be made before Exchange 2013 can be installed. Let's first prepare the member server with the name EX2013.windows.local.
First, the Exchange prerequisites are installed:
Install-WindowsFeature AS-HTTP-Activation, Desktop-Experience, NET-Framework-45-Features, RPC-over-HTTP-proxy, RSAT-Clustering, Web-Mgmt-Console, WAS-Process-Model, Web-Asp-Net45, Web-Basic-Auth, Web-Client-Auth, Web-Digest-Auth, Web-Dir-Browsing, Web-Dyn-Compression, Web-Http-Errors, Web-Http-Logging, Web-Http-Redirect, Web-Http-Tracing, Web-ISAPI-Ext, Web-ISAPI-Filter, Web-Lgcy-Mgmt-Console, Web-Metabase, Web-Mgmt-Console, Web-Mgmt-Service, Web-Net-Ext45, Web-Request-Monitor, Web-Server, Web-Stat-Compression, Web-Static-Content, Web-Windows-Auth, Web-WMI, Windows-Identity-Foundation


After installing the features, the server needs to be rebooted. Then you can continue.
After the features have been installed, the following packages must be downloaded and installed:
- Unified Communications Managed API 4.0
- Microsoft Office 2010 Filter Pack
- Microsoft Office 2010 Filter Pack SP1
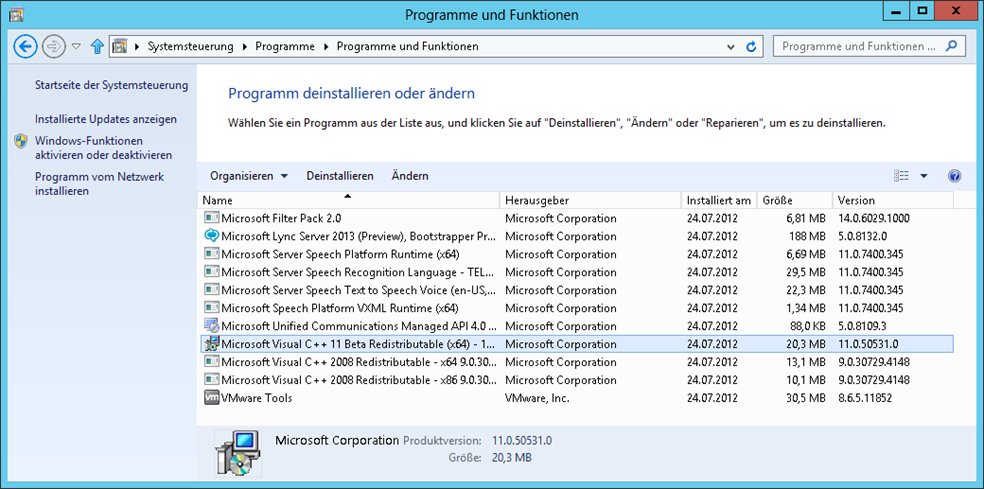
After the 3 packages have been installed, Visual C++ 11 Beta must be uninstalled via the Control Panel -> Programs and Features

This means that all requirements have been met and we can continue with the Exchange 2013 setup.
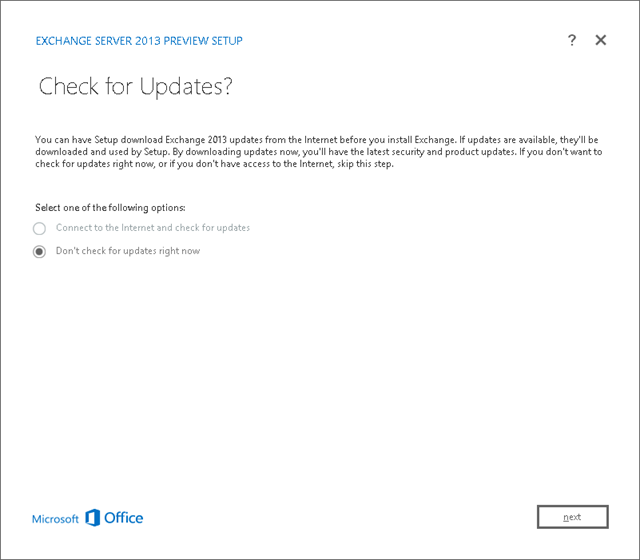

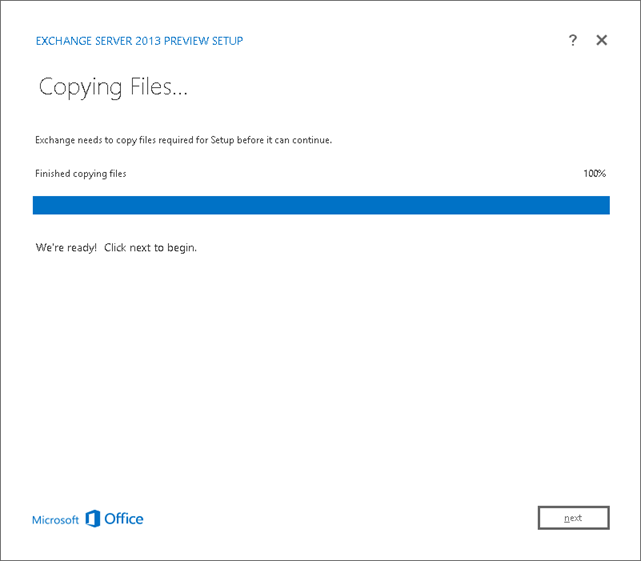


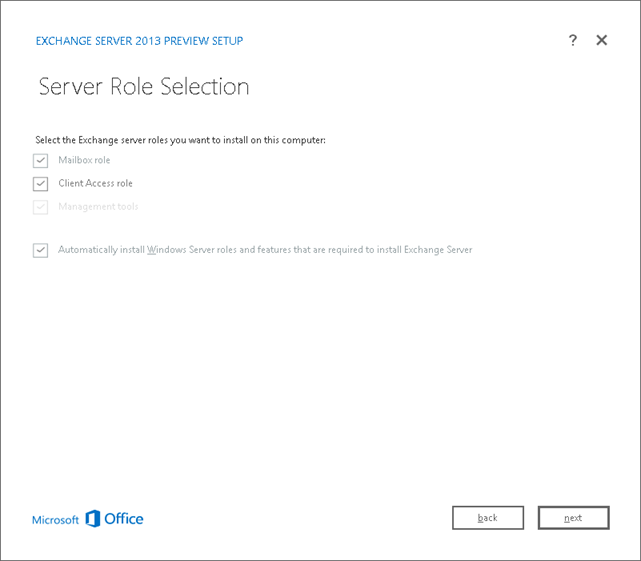
Die ersten Dialoge sind selbsterklärend. Ein paar Mal auf „Next“ und es geht los. Bei der „Server Role Selection“ fällt auf das es hier keine Hub-Transport Rolle gibt, sondern nur Mailbox und Client Access.
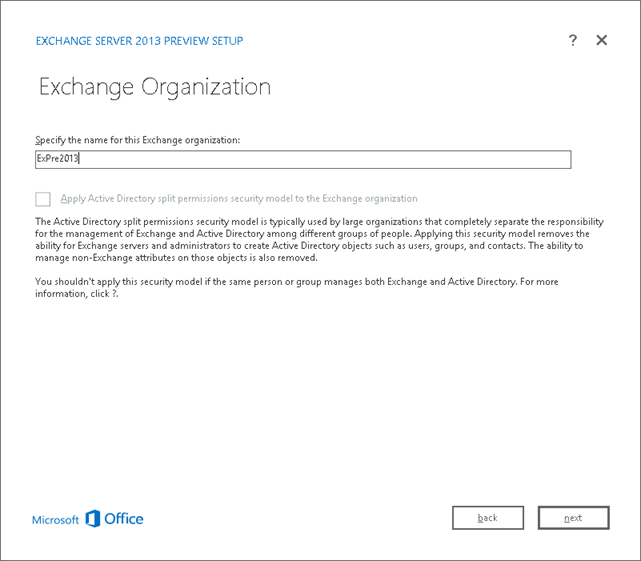
As with Exchange 2010, we are asked for the organization name
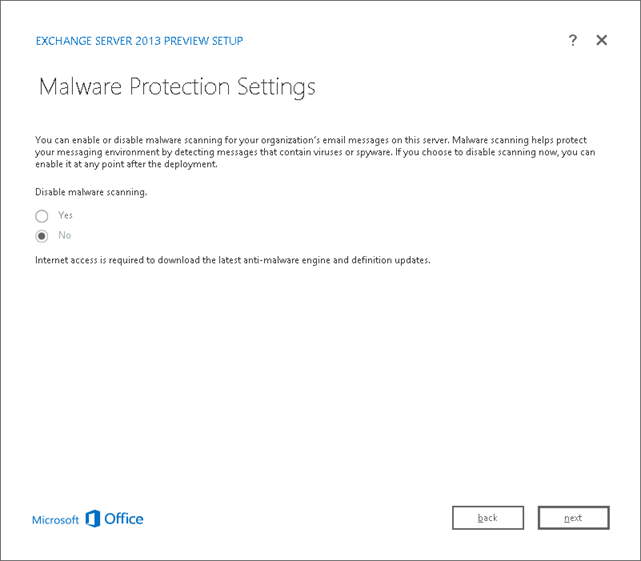
Here is the first new feature: Integrated malware protection
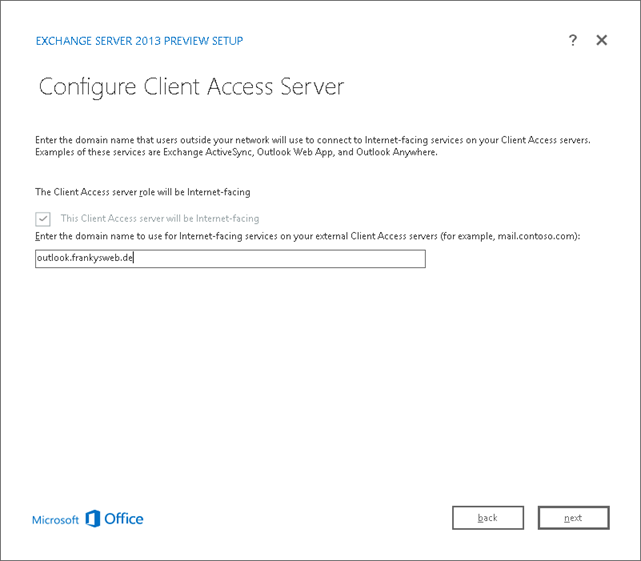
The next dialog is the same as for Exchange 2010, here the external access name is defined
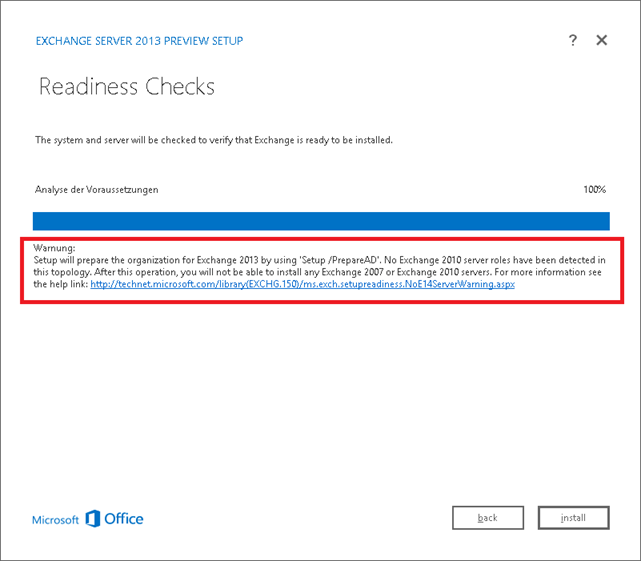
Danach wird noch einmal auf „Next“ geklickt und es geht los mit der Installation, die Setup Routine aktualisiert auch direkt das AD-Schema, worauf die Warnung hinweist.
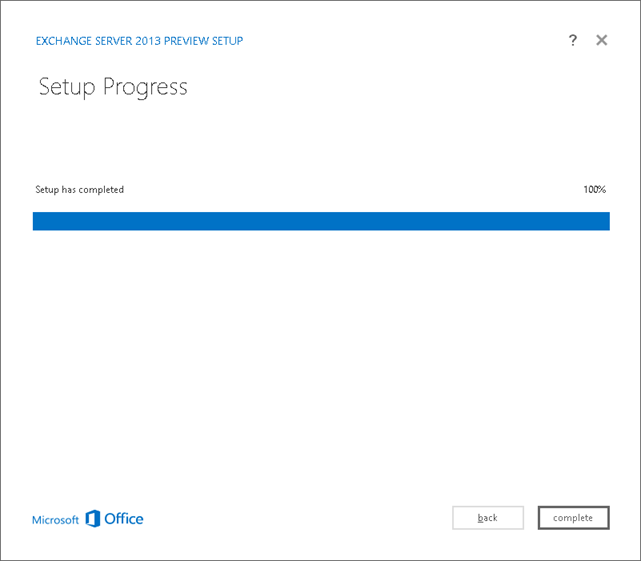
No problem so far J After approx. 45 minutes the setup is complete
Let's continue with the basic configuration. There will be a new article on this this evening.