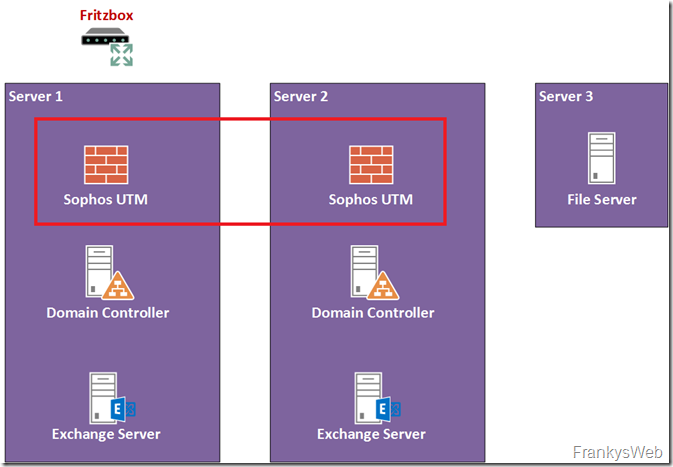
In the first part the expansion of the small Exchange organization, the Active Directory has already been designed redundantly. In this article, it's the Sophos UTM's turn. Unfortunately, in my test environment, the Fritzbox in front of the UTM forms a single point of failure.
The existing UTM installation is supplemented by another UTM VM on Server2. Both UTMs then form an Active Passive Cluster.
Configuration UTM1
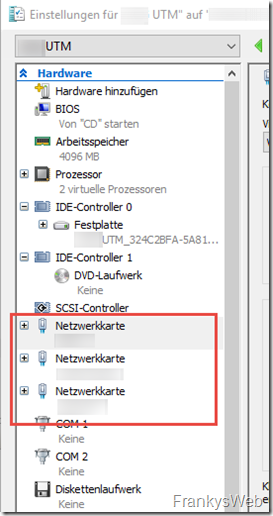
An additional network card is required for the configuration of an active-passive cluster on the UTM. I have therefore added another network card to the VM, which is tagged on the HyperVisor's vSwitch in a VLAN that is only used for synchronizing the UTMs. The VM now has a total of 3 vNICs: Internal, External and Sync.
Note: If ESXi is used as a HyperVisor, the subsequent addition of a vNIC is problematic in conjunction with the UTM. The UTM will then happily mix up the assignment of the network types. With Hyper-V, however, this does not seem to be a problem.
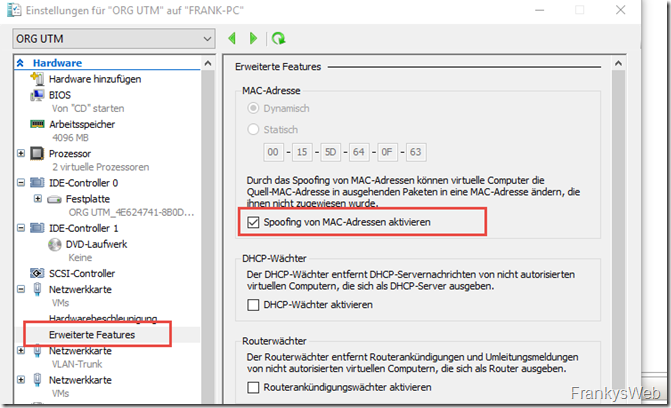
MAC spoofing must also be activated for the UTM cluster so that the MAC address can be switched to the remaining VM in the event of a failover. The setting can be found in the "Advanced features" for the network cards in Hyper-V:
I have allowed MAC spoofing for all network cards of the two UTMs.
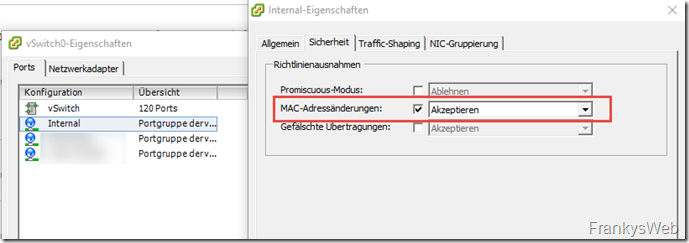
With ESXi, the setting is made at port group level:
The additional network card must not be configured as an interface in the UTM, but remains exclusively for the synchronization of the cluster.
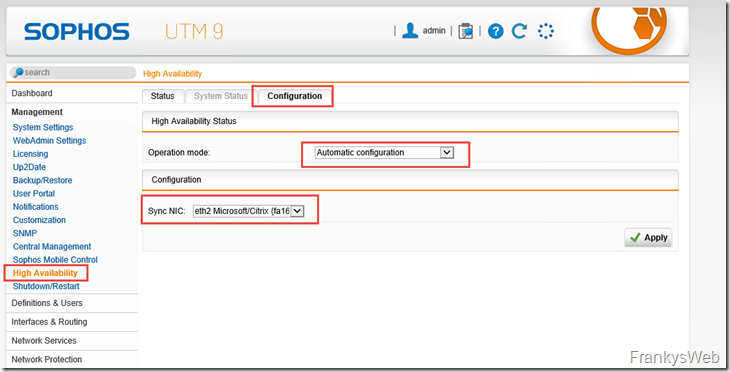
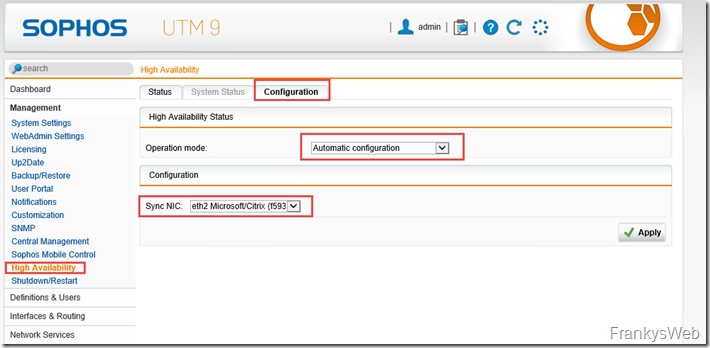
Cluster mode can now be activated in the UTM settings. Automatic Configuration prepares an active-passive cluster:
Continue with UTM2 on Server2
Configuration UTM2
For the second UTM I have created a VM on Server2, virtual hardware is the same as the VM on Server1. The installation does not differ from the normal setup: Attach ISO, install, done. Only a corresponding IP must be specified. I have chosen 172.16.100.253 for UTM2.
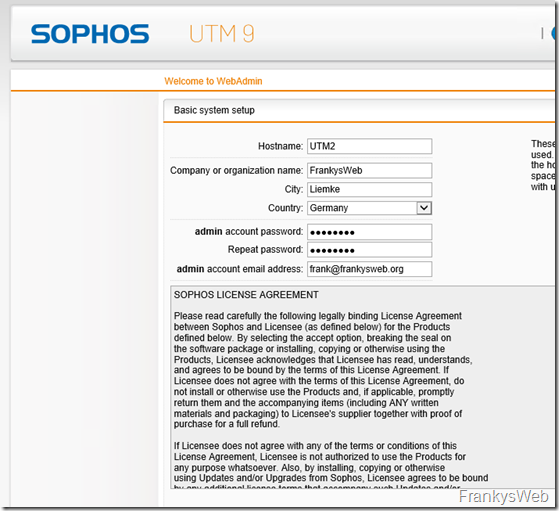
Only a few settings need to be made after the restart:
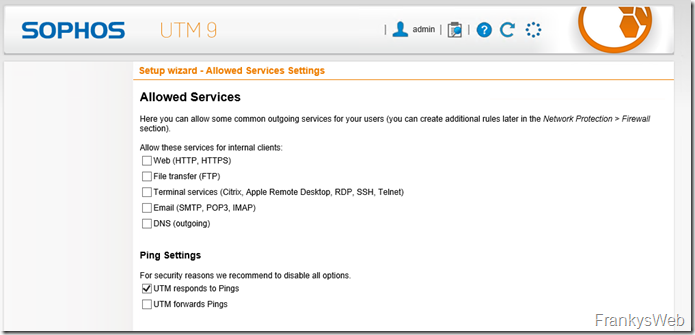
The basic setup can simply be clicked through:
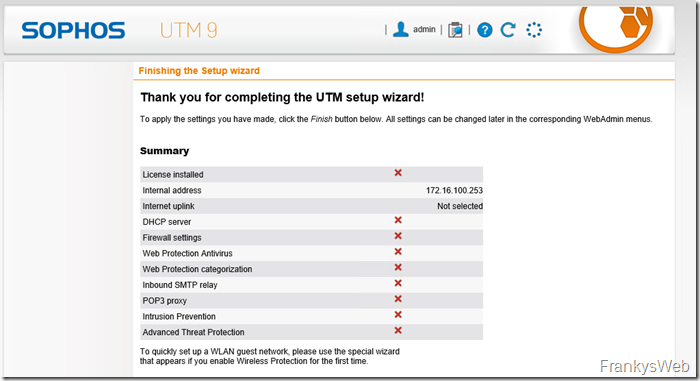
Here is the overview, nothing is configured except the IP:
After logging on to the web interface, cluster mode is also activated on the second UTM:
Check cluster
The configuration can be checked using the live logs. UTM1 on Server1 is the master, as it runs longer and therefore has a higher uptime:
UTM2 becomes a slave:
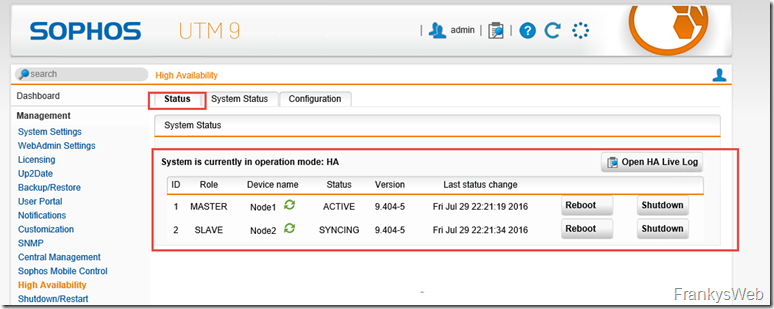
After the configuration of the cluster, the synchronization of the configuration begins, this can be tracked on the master UTM:
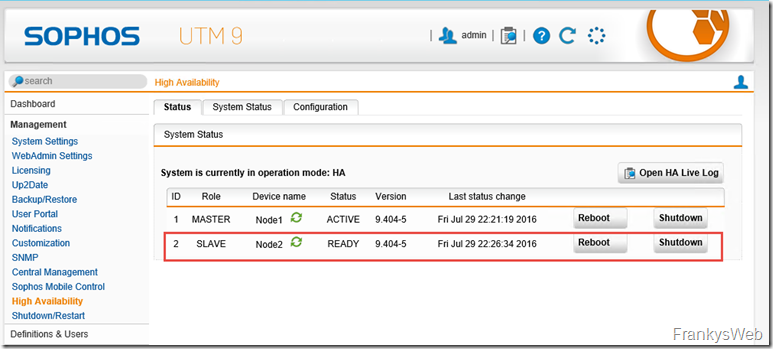
After a short time, the configuration should be synchronized and the cluster is ready:
Node1 (UTM1) is active, Node2 (UTM2) is available as standby.
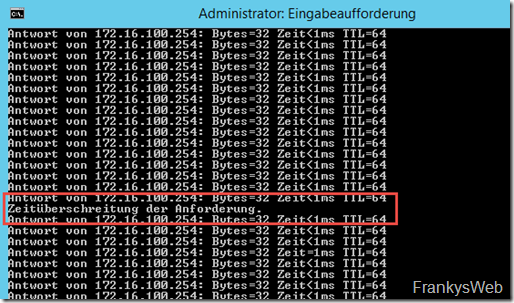
I have switched off UTM1, here is the result:
One ping fell by the wayside, but that's bearable.
Summary
Server2 is now running 2 VMs, a DC and a UTM. The corresponding partners on Server1 should already be down and there would be no significant outage.
However, the Fritzbox poses a problem: if the Fritzbox fails, the Internet connection is no longer available. Here you could consider a second Internet connection from another provider. In this case, however, both connections should have a static IP.
Alternatively, an additional Fritzbox can be kept available, which is connected in the event of a fault, but this does not help if the provider has problems.


Hier muss ich mal eine Ergänzung anbringen:
Es reicht nicht, nur das MAC-Spoofing (Hyper-V) zu aktivieren, es müssen statische MAC-Adressen vergeben werden (im selben Fenster). Der Cluster wird auf Basis der MAC-Adressen erstellt. Bootet man eine der virtuellen UTM’s neu, so erhält man eine neue MAC Adresse und der Cluster ist im SplitBrain.
Gruß Thomas