The current CU15 is for Exchange Server 2019, like the CU14for Windows Server 2025 has been released. The CU15 supports the inplace upgrade to Exchange Server SE RTM. However, the Inplace Upgrade only supports the upgrade of the Exchange installation. The operating system cannot be upgraded via Inplace Upgrade. So if you want to perform an Inplace Upgrade from Exchange Server 2019 CU15 to Exchange Server SE from October 2025 and also want to use the current Windows Server operating system directly, you can already install Exchange 2019 CU15 on Windows Server 2025 and perform a classic migration. As soon as Exchange SE RTM is released, only the inplace upgrade needs to be carried out.
I am publishing this article for the sake of completeness, because the installation is almost identical to the CU14 installation. This article describes the installation of Exchange Server 2019 CU15 on Windows Server 2025.
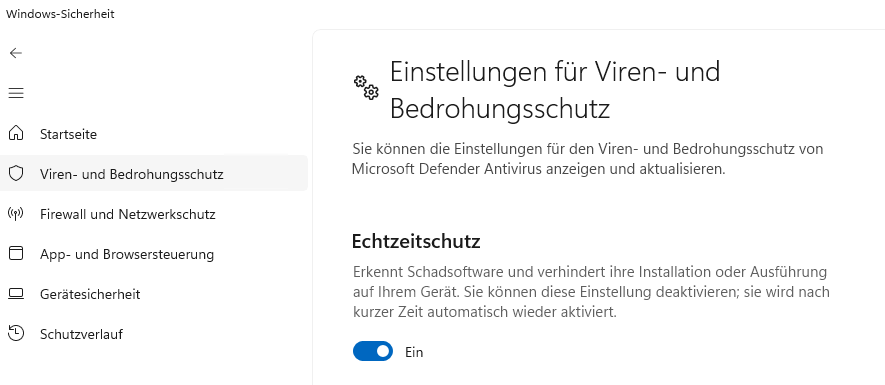
Disable Windows Defender
To speed up the Exchange installation process, Windows Defender should be switched off during the installation. After the Exchange installation, Windows Defender is switched on again. If another virus scanner is in use on the server, this should also be deactivated.
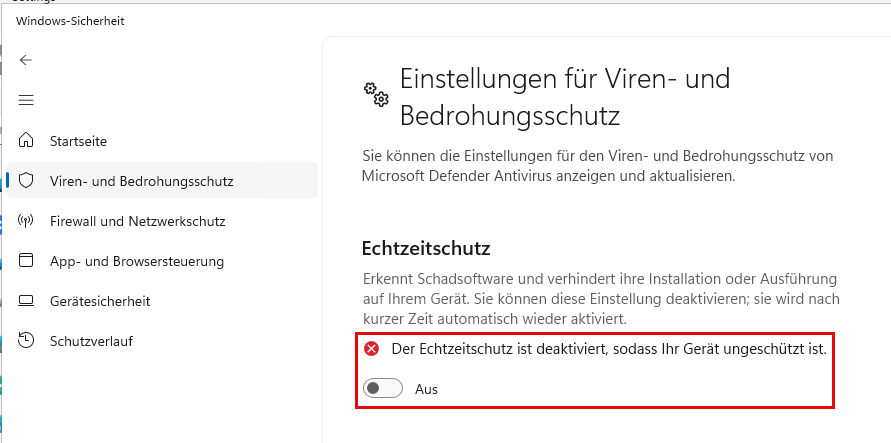
At the end of the article you will find the corresponding configuration with the exceptions for Windows Defender required for Exchange.
Install prerequisites
Before Exchange Server can be installed, some prerequisites must be installed. First of all, these are Windows features that can be easily installed using PowerShell:
Install-WindowsFeature Server-Media-Foundation, NET-Framework-45-Features, RPC-over-HTTP-proxy, RSAT-Clustering, RSAT-Clustering-CmdInterface, RSAT-Clustering-Mgmt, RSAT-Clustering-PowerShell, WAS-Process-Model, Web-Asp-Net45, Web-Basic-Auth, Web-Client-Auth, Web-Digest-Auth, Web-Dir-Browsing, Web-Dyn-Compression, Web-Http-Errors, Web-Http-Logging, Web-Http-Redirect, Web-Http-Tracing, Web-ISAPI-Ext, Web-ISAPI-Filter, Web-Metabase, Web-Mgmt-Console, Web-Mgmt-Service, Web-Net-Ext45, Web-Request-Monitor, Web-Server, Web-Stat-Compression, Web-Static-Content, Web-Windows-Auth, Web-WMI, Windows-Identity-Foundation, RSAT-ADDS

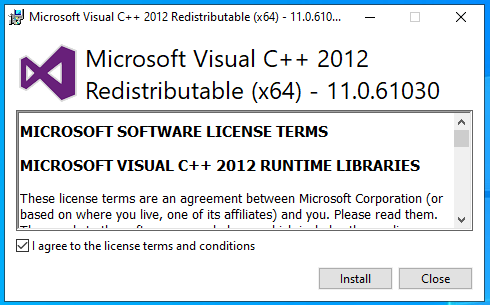
After the Windows features have been installed, the required C++ runtimes must be installed. The two packages can be downloaded here:
- Visual C++ Redistributable Package for Visual Studio 2012
- Visual C++ Redistributable Package for Visual Studio 2013
In addition, the IIS URL Rewrite Module is required in the 64-bit version. Here is the corresponding download link:

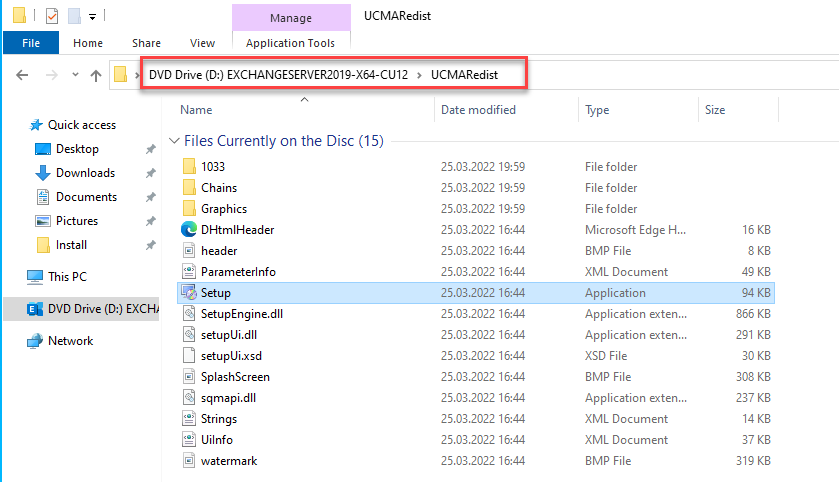
UCMA 4.0 must now be installed from the Exchange ISO. UCMA can be found in the ISO in the "UCMARedist" directory:
If the UCMA is installed, all prerequisites are installed. The server should now be restarted once.
Exchange 2019 CU15 Setup
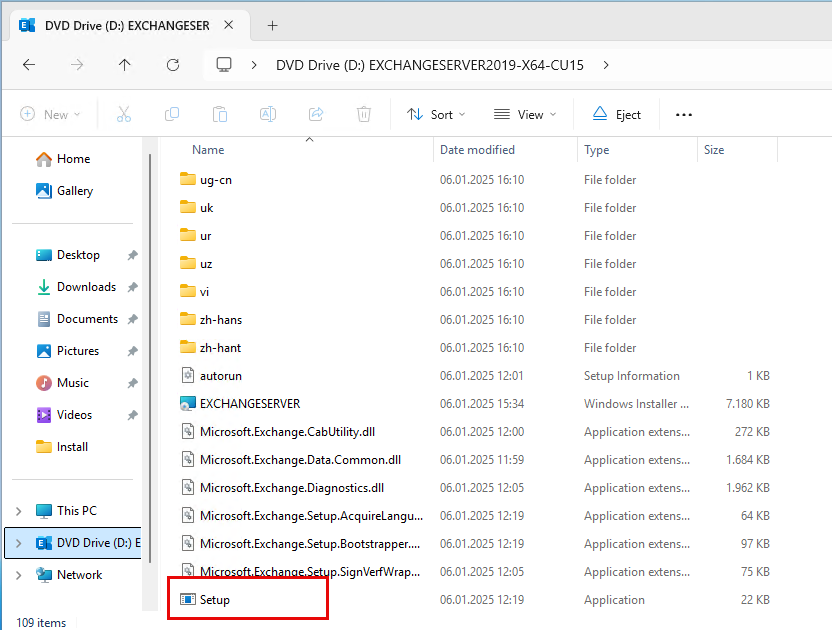
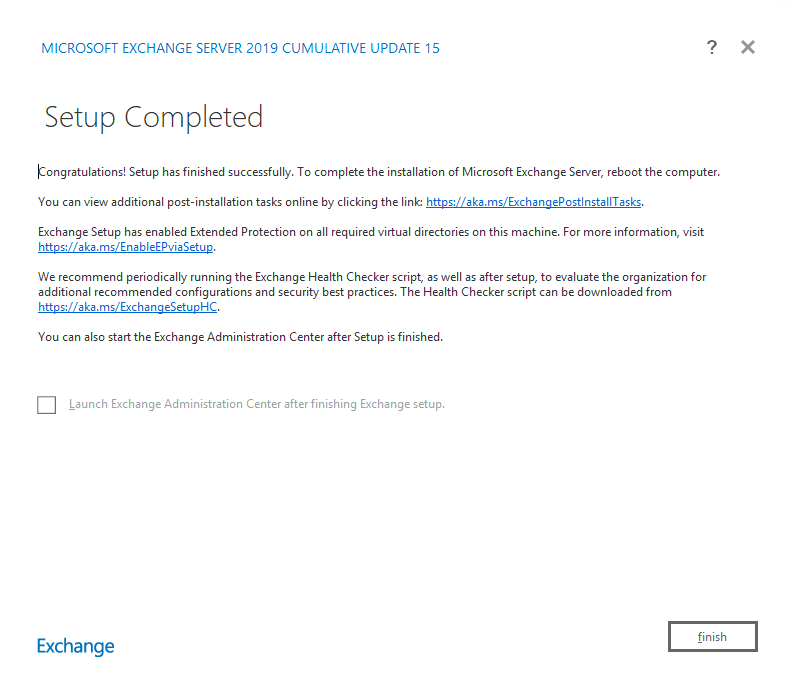
All the prerequisites for Exchange are now installed and you can start installing Exchange Server. To do this, the setup is started from the Exchange CU15 ISO:
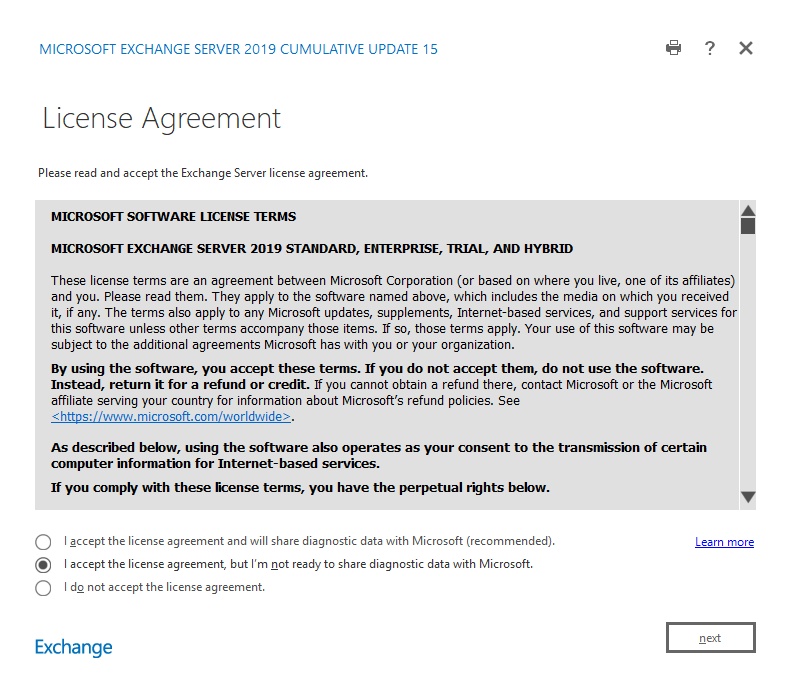
I have only taken screenshots of the relevant dialogs. You can specify quite early on whether diagnostic data may be sent to Microsoft:
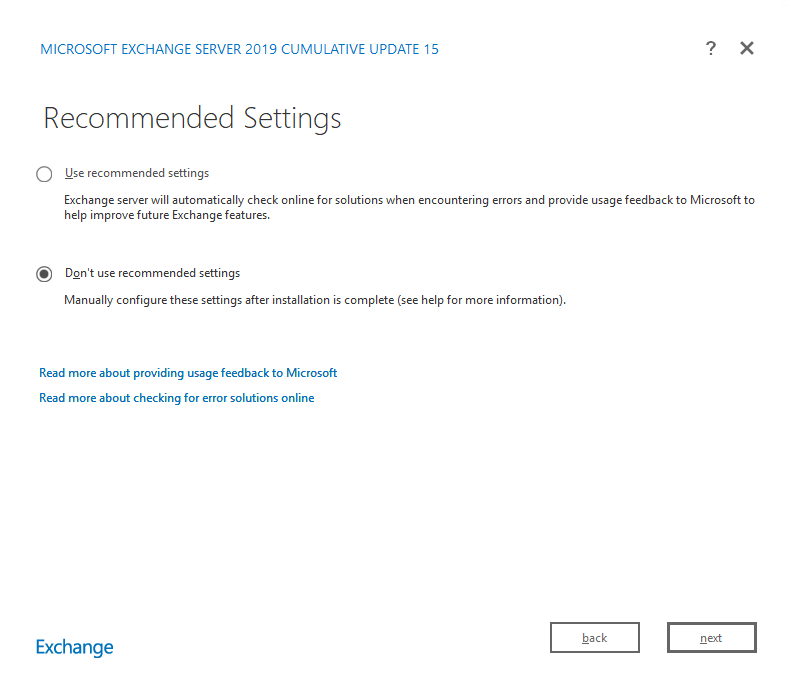
The recommended settings can be deselected here, giving you more control over the other setup settings:
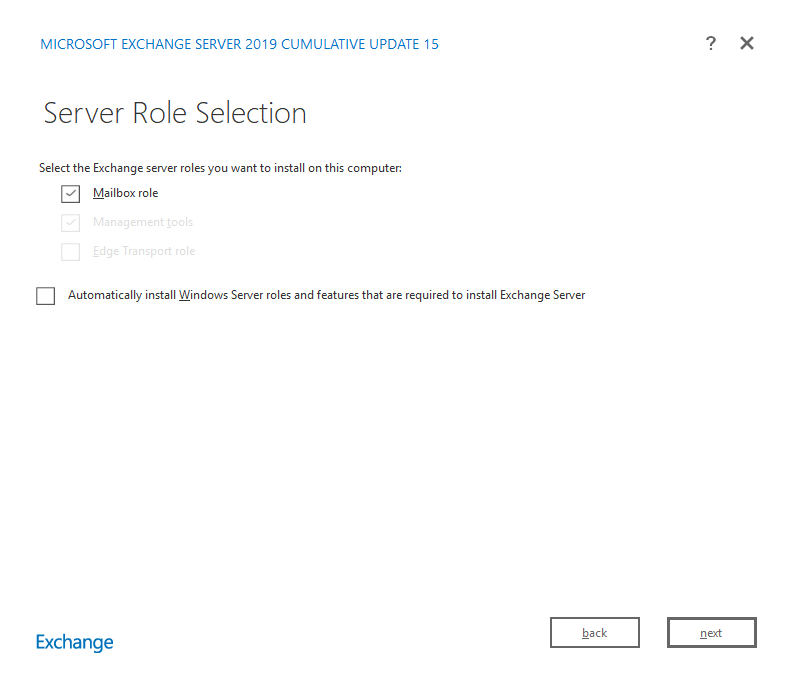
Only the mailbox role is required for an Exchange 2019 Standard installation:
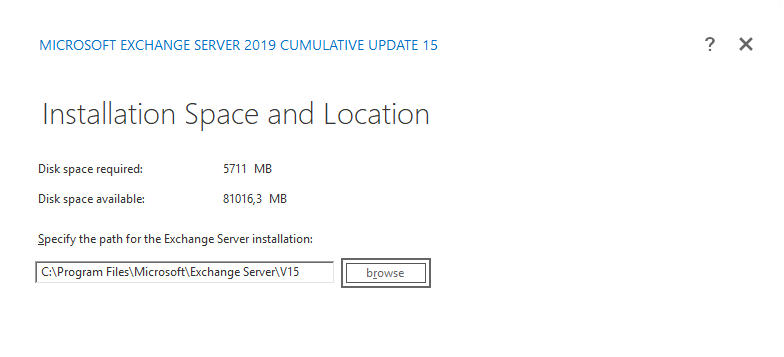
The next dialog asks for the installation path. I still recommend that you do not install the Exchange installation on C: but use a separate drive. In practice, C: for the system, D: for Exchange and other volumes for the databases have proven to be the best choice. As Exchange creates quite a lot of logs, the volume for Exchange should be at least 200 GB in size. A 100 GB C: drive is usually sufficient:
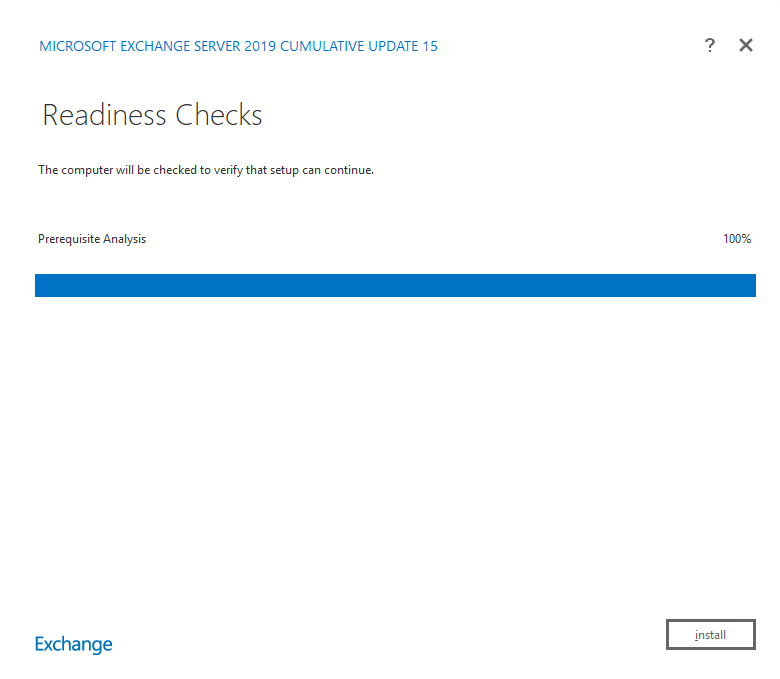
If it is a new Exchange organization, the next step asks for the name of the organization. If not, the readiness check is performed and Exchange can be installed:
The setup has now been running for a while:
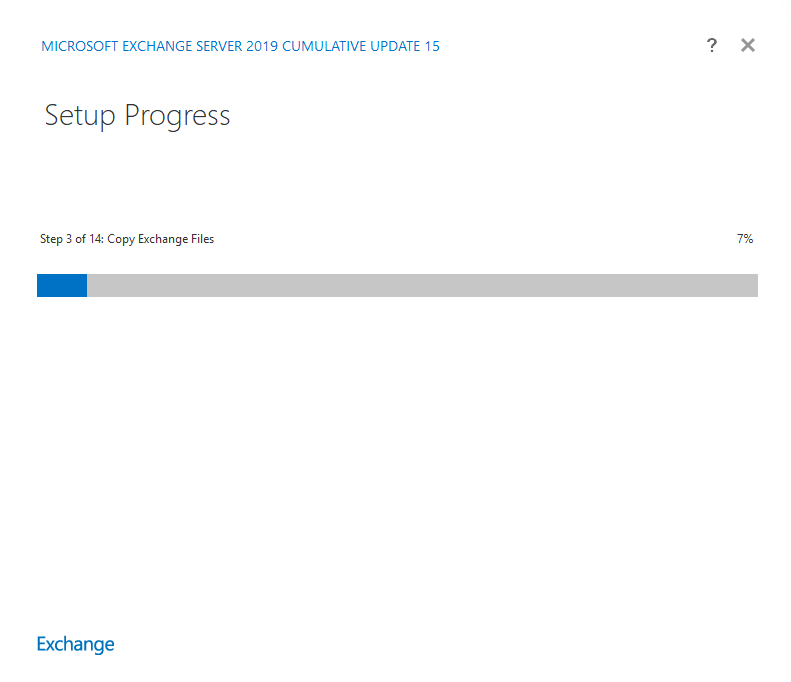
Tip: Estimate the approximate time required for the installation. Each Exchange CU basically performs a new installation of Exchange, so it can be an advantage if you know the time you need to allow for the installation of CUs. Just doing it during your lunch break could be tight.
Install updates
At the time of writing, there were no security updates for Exchange Server 2019 CU15. The latest security updates can be found on this page and can be installed directly after installing the server:
Activate and configure Windows Defender
Since the Defender was deactivated at the beginning of the installation, it is now time to configure and reactivate the Defender.
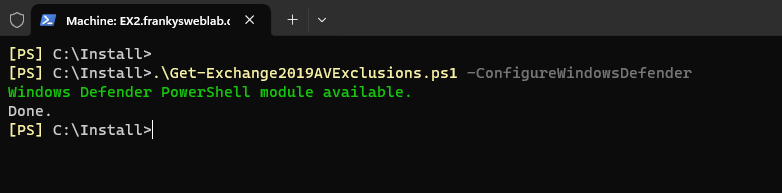
The script "Get-Exchange2019AVExclusions.ps1" can be downloaded and executed on the Exchange Server:
The script generates 3 lists with the necessary exceptions for virus scanners. These exceptions can also be used for other AV products. The script can also configure Windows Defender directly:
.\Get-Exchange2019AVExclusions.ps1 -ConfigureWindowsDefender
Finally, don't forget to switch Windows Defender back on:
Exchange Health Checker
The installation is now complete, to avoid future problems, the Exchange Server Health Checker should be run. If warnings or errors occur, the Exchange Health Checker also provides a corresponding article on how to resolve the problem.
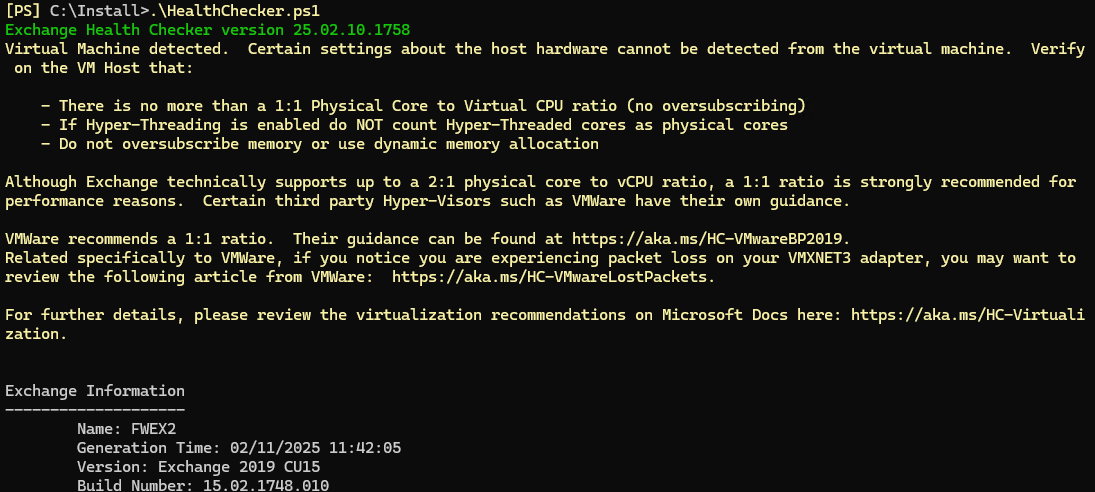
Most of the Health Checker recommendations can be implemented with a small script:
This should make the Health Checker report look much better.

Was mir bei der Darstellung des Setups fehlt, ist der Aspekt des Schema-Updates. Ich gehe davon aus, dass ich das Schema-Update immer noch auf der CMD ausführen muss. In meinem Fall müsste ich nur für den Punkt einen Kollegen mit höheren Rechten dazuholen.
Was mir bei Frankys Test-Umgebung fehlt, ist ein Loadbalancer bzw. die Frage, ob und wann ich den neuen Produktiv-Ex2019-Server am Loadbalancer einhängen kann. Aber vllt. wird das noch erwähnt.
Als quick and dirty Variante, wenn man sich den leidigen (weil über MAPI) Umzug der ganzen Postfächer sparen will, kann man auch die Datenbank dismounten, auf den neuen Server kopieren und hier wieder einhängen mit dem Parameter -AllowFileRestore $true. Anschließend Get-Mailbox -Database „NeuerName“ | Set-Mailbox -Database „AlterName“ um die Mailboxen wieder mit der neuen Datenbank zu verknüpfen.
Ist aber mit einer Donwtime verbunden und eher für DisasterRecovery gedacht.
Richtig, aber mach das mal, wenn deine DB 800GB und größer ist und du davon nicht nur eine sondern 17 hast. ;) Viel Spaß beim Kopieren.
Wenn man mit VMs arbeitet, die Exchange Version auf beiden Servern identisch ist und die DBs auf einer separaten Platte hat, würde es eigentlich funktionieren die Datenbanken auf dem alten Server zu dismounten, die Platte auf der alten VM auszuhängen, an den neuen Server anzuhängen und dann die DBs dort hinzuzufügen/ zu mounten? Das würde einem das kopieren ersparen, wenn man nicht alle Postfächer verschieben möchte. Oder wäre das auch eher in die Kategorie „Gebastel“ zu stecken?
Grundsätzlich kann man das machen. Hat halt in jedem Fall eine wie auch immer geartete Downtime zur Folge und man hantiert zwangsweise immer mit den Originaldaten. Wenn also was schief geht, hat man hoffentlich ein aktuelles Backup zur Hand. :)
Ist hier bei MS dokumentiert:
https://learn.microsoft.com/de-de/exchange/high-availability/disaster-recovery/database-portability?view=exchserver-2019
Wenn Datenbankportabilität zur Wiederherstellung einer Postfachdatenbank verwendet wird, müssen die Version des Betriebssystems und die Exchange Server-Version auf den Quell- und Ziel-Exchange-Servern übereinstimmen. Beispiel: Wenn eine Exchange 2016-Postfachdatenbank auf einem Server unter Windows Server 2016 bereitgestellt wurde, funktioniert Datenbankportabilität nur, wenn die Datenbank auch zu einem Server unter Windows Server 2016 und Exchange 2016 migriert wird.
Somit also ggf. auch unsupported. Womit wir wieder bei „kann gehen“ landen. Ich verstehe nicht, warum sich soviele gegen eine einfache Migration sträuben. Dauert am Ende auch nicht viel länger.
Ich sträube mich nicht vor der normalen Migration, das war von mir nur ein Gedankenspiel, um ggfls. die Migrationszeit der Postfächer zu verkürzen, die sind bei uns teilweise recht groß.
Wenn wir später vom Server 2019 auf was neueres migrieren mache ich das dann halt klassisch, ich möchte auf keinen Fall eine unsupportete Umgebung haben. SE läuft ja auch erst mal auf Server 2019.
Während der Mailbox Verschiebung merkt doch kein User was davon und ob das nu 1h oder 2 Wochen dauert ist doch total egal.
Warum eigentlich (wieder) eine Anleitung für die Installation auf einem Server mit GUI?
Die GUI braucht man ja höchstens noch für die Toolbox (Warteschlangen-Viewer), aber den kann man sich ja auf jeden x-belibigen anderen Server installieren.
Ich lese die Kommentare von Norbert und dartzen sehr oft und denke mir oft, ja okay, support hin oder her, aber versucht es doch einfach mal. Ich habe bei Exchange Server schon seit Server 2019 mindestens 8x das Inplace Upgrade auf Server 2022 und auch jetzt schon 2x das Inplace Upgrade auf Server 2025 in produktiven Exchange Umgebungen genutzt. Ich habe es mir allerdings immer so gelegt, dass ich nach dem OS Inplace Upgrade noch ein CU zu installieren habe, das fühlte sich für mich immer besser an. Aber erst diesen Monat zuletzt lief der Exchange 2019 auch ohne CU15 Update ganz normal auf dem CU14 weiter, nachdem ich das Inplace gemacht hatte. Aber dann über den „neuen“ Server ein CU Update, was ja eine volle Installation ist, laufen zu lassen, fühlt sich für mich einfach besser an.
Es geht nicht darum ob es geht, sondern darum was vom Hersteller vorgegeben wird. MS schreibt es explizit, dass es nicht supported ist. Ist schön für dich wenn du es probieren willst, aber empfehlen werde ich das niemandem. Zum einen hat es in der Vergangenheit schon Exchange Server dabei zerschossen. Und zum anderen, was machst du wenn es zwar erst mal läuft, es aber dann irgendwann zu Problemen im Betrieb kommt? Der MS Support wird mit ziemlicher Sicherheit feststellen, dass hier ein In-Place Upgrade durchgeführt wurde und dann den Support verweigern. Und dann hast du den Salat.
Was man privat macht ist einem selbst überlassen, aber im geschäftlichen Umfeld sollte man sich nie außerhalb der vorgegebenen Bedingungen des Herstellers begeben.
Sollten diese Exchange Server irgendwann mal Probleme machen, dann kann man immer noch die Mailboxen auf einen frisch installierten Server umziehen, bis dahin spare ich mir aber gerne die Zeit ;-) Und wer weiß, vielleicht wird es ja irgendwann mal supported, so wie CU14 dann doch noch nachträglich für Server 2025 den Support bekommen hat. Und ich hatte auch schon den Fall, dass ein Exchange Probleme hatte (hatte nichts mit dem Inplace zu tun) und MS dann trotzdem geholfen hat – sie haben gar nicht geprüft ob es mal ein OS-Inplace gab.
Aber klar EMPFEHLEN würde ich es auch niemandem, da es nicht supported ist. Aber es funktioniert seit Jahren ohne Probleme.
Ich habs bei Kunden gesehen, was hinterher nicht ging (gabs auch Kandidaten hier im Forum). Ja kann man alles irgendwie fixen wenn man es unbedingt so haben will. Aber da ich Dienstleister bin, halte ich mich in dem Fall an die Supportzusagen des Herstellers und fange nicht an irgendwas zu basteln. Wer das mag kann es ja gern tun und sich freuen wenn alles läuft. Der Zeitaufwand ist mit ca. 2h wenn alles gut geht vermutlich überschaubar. Dafür haste aber auch 2h Downtime deines Exchangeservers.
Ich bin auch Dienstleister und habe über diesen Weg noch nie etwas zu fixen gehabt, läuft wunderbar ;-) aber grundsätzlich bin ich schon bei dir, dass es besser ist sich an den supporteten Weg zu halten.
Wir haben noch viele Installationen EX2019 CU14 und Win Server 2019
hat schon jemand inplace upgrades versucht, also
EX2019 CU 14 -> CU 15 (klappt ja problemlos)
und danach Win Server 2019 -> 2025
Wie oft denn nun noch. Steht sicher in den ganzen anderen Kommentaren ebenfalls. Ein inplace Upgrade des os mit installierten Exchange ist derzeit und für die nächste Zukunft nicht supported. Wer also von Windows 2019 zu 2025 will, muss klassisch einen zweiten Exchange installieren und die Funktionen und Mailboxen dahin umziehen.
https://techcommunity.microsoft.com/blog/exchange/upgrading-your-organization-from-current-versions-to-exchange-server-se/4241305
“Will Exchange Server SE allow in-place upgrade of Windows Server operating system while Exchange is already installed?
No. Upgrades of the underlying Windows OS on an Exchange Server are not supported and will remain unsupported. We have heard this request and are evaluating it (but have nothing to announce currently). For customers building new servers, we encourage you to install the newest Windows OS before installing Exchange Server on it (including Windows Server 2025 once Exchange 2019 CU15 is released).”
Du kannst das OS mit installiertem Exchange nicht In-Place upgraden, das ist nicht supported und war es auch nie, daher macht diese Abfolge keinen Sinn. Wenn du auf Server 2025 gehen willst ist das richtige Szenario einfach einen neuen Server 2025 aufsetzen, dort Exchange 2019 CU15 installieren und dann eine Migration der Daten vom „alten“ Exchange auf die neue Maschine machen. Anschließend den alten Exchange deinstallieren. Die CU15 Installation auf dem alten Exchange kannst du dir sparen.