In the last part of the Exchange 2013 to Exchange 2019 migration, the environment is cleaned up and Exchange 2013 is uninstalled. The first two articles can be found here
- HowTo: Migration from Exchange 2013 to Exchange 2019 (Part 1)
- HowTo: Migration from Exchange 2013 to Exchange 2019 (Part 2)
The mailboxes and public folders have already been moved to part 2. Only a few simple steps are required to uninstall Exchange 2013 and complete the migration:
Customize send connector
The Exchange 2013 server must be removed from the send connector as the source server so that the uninstallation can be carried out:
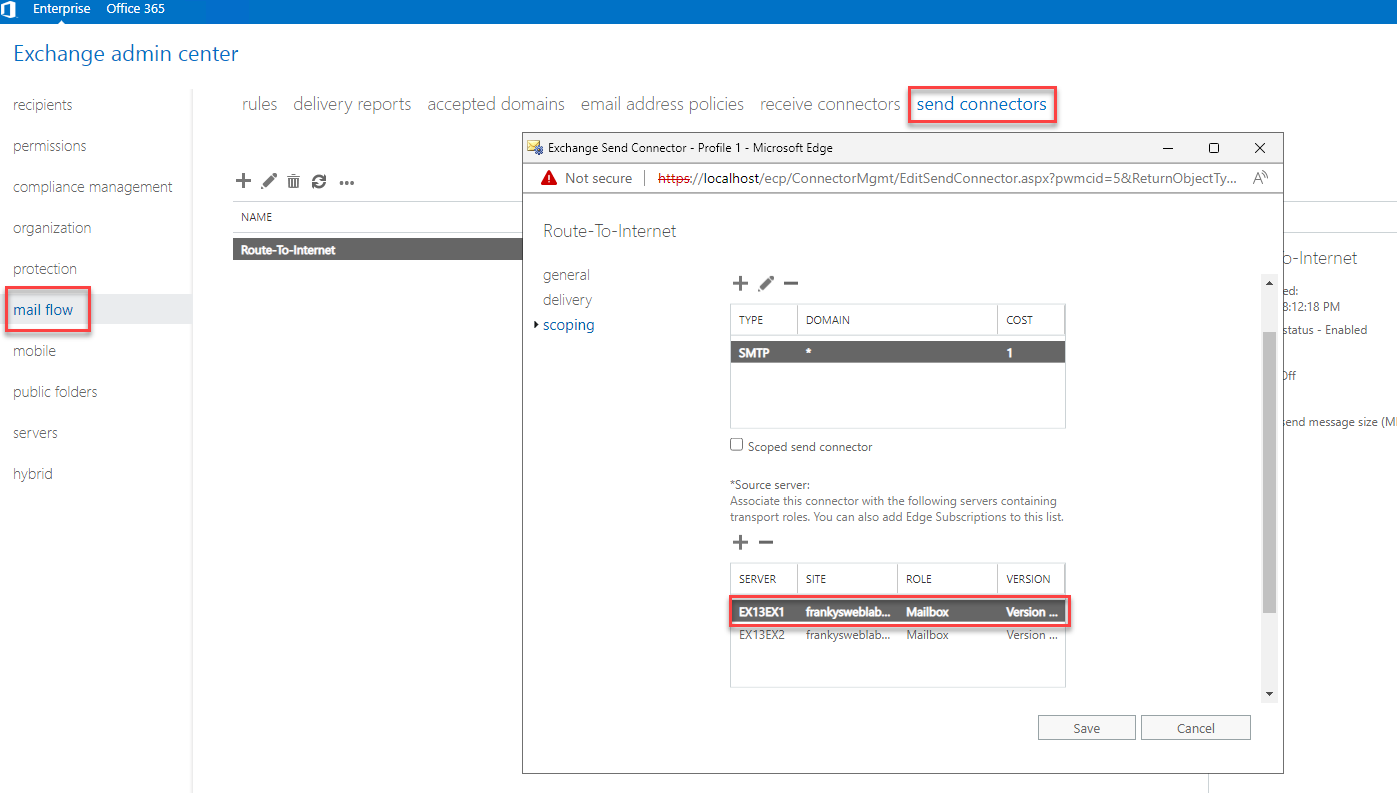
If not already done, all devices that may have used Exchange 2013 as an SMTP server (printers or similar) should now also be switched to the Exchange 2019 server. Firewalls or routers that route SMTP port 25 to Exchange 2013 must also be converted if not already done.
Remove Exchange 2013 database
Before the Exchange 2013 database can be removed, it must be ensured that no more mailboxes are stored in the database. The following commands can be used to check whether there are still mailboxes in the old database. The following commands must no longer provide any output:
get-mailbox -Database EX2013
get-mailbox -Database EX2013 -Archive
get-mailbox -Database EX2013 -Arbitration
get-mailbox -Database EX2013 -PublicFolder
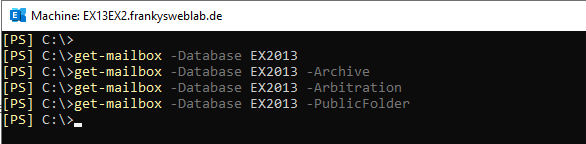
If mailboxes are still displayed, the corresponding mailboxes must first be moved to the Exchange 2019 database (see part 2), otherwise the Exchange 2013 database cannot be removed cleanly.
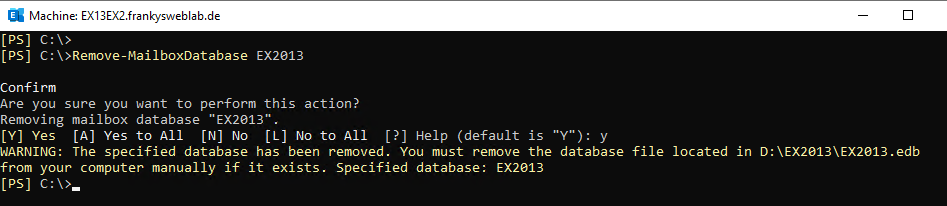
If there are no more mailboxes in the database, the Exchange 2013 database can be deleted:
Remove-MailboxDatabase EX2013
The uninstallation can now be carried out.
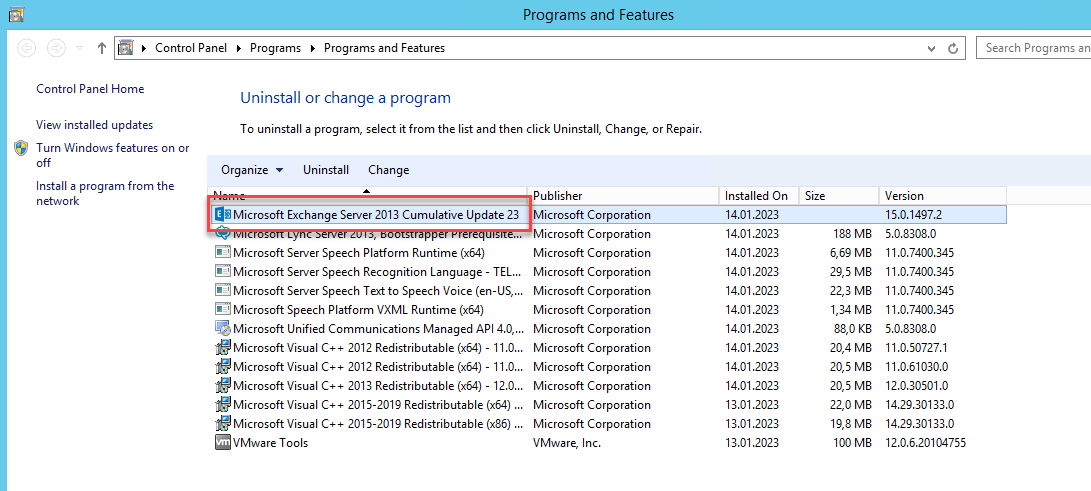
Uninstall Exchange 2013
After the database has been removed from the Exchange 2013 server, Exchange
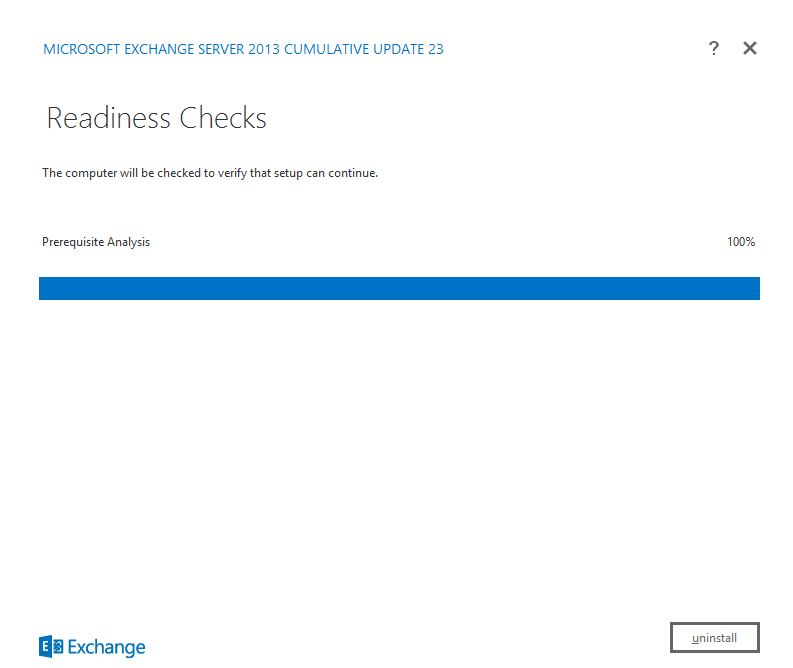
The readiness check for uninstallation is now running a few more checks, but should not report any problems:
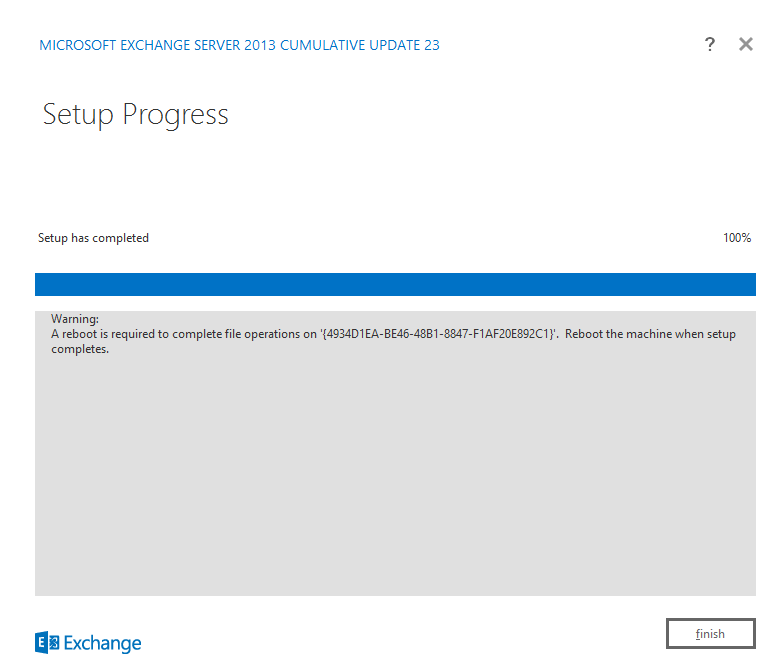
After successful uninstallation, the final restart can be carried out:
The last step would be to remove the server from the Active Directory and then delete it.

Wieso 2013 deinstallieren? einfach vm / host drüberbügeln und gut is, spart abeit und zeit
dann ist das aber massivst unsauber, da du noch überall ADSI und AD-Einträge hast, die deine Exchange-Umgebung und AD glauben lässt, es wäre noch ein Exchange-Server im System.
Kann an diversen stellen zu Problemen führen. Beispielsweise ist in einem 3er-Verbund an Exchange-Servern laut MS-Default ein Server Ausfall in Ordnung. Wenn du den Server nicht sauber aus der Farm rausarbeitest, darf keiner der anderen beiden Server ausfallen, oder du bekommst massive Probleme, obwohl deine Daten rein technisch redundant abrufbar wären.