Zevenet Loadbalancer is the successor to Zen Loadbalancer which I had already written a howto on some time ago. The Zevenet load balancer is particularly suitable for test environments as it is quick to install and configure and is also free of charge. So here is an updated how-to on Zevenet and Exchange 2019.
The Zevenet load balancer can be downloaded here:
The installation can be done on BareMetal, in a VM or as a container. In my test environment, I have installed Zevenet as a VM.
Installation Zevenet Community Edition
The installation of Zevenet is done quickly, I have deployed the load balancer in a VM. As only a few details are required, there are only a few screenshots here and only a comment if necessary:
The management interface of the load balancer can be reached later under the specified IP address. If you want to use several network cards, you must specify an IP from the management network here. In my test environment, I have only configured one network card:
For GRUB only /dev/sda needs to be selected here:
After installation, you can log in via the console or SSH with the root user and the selected password:
Configuration Zevenet Community Edition
The Zevenet GUI can be accessed via https on port 444. Logging in with the root user is also possible here.
- https://IP:444/
After logging in, the overview is displayed:
In my test environment I only have one network card, but I can still use a virtual interface to configure the exchange traffic to a different IP address than the management interface of the load balancer:
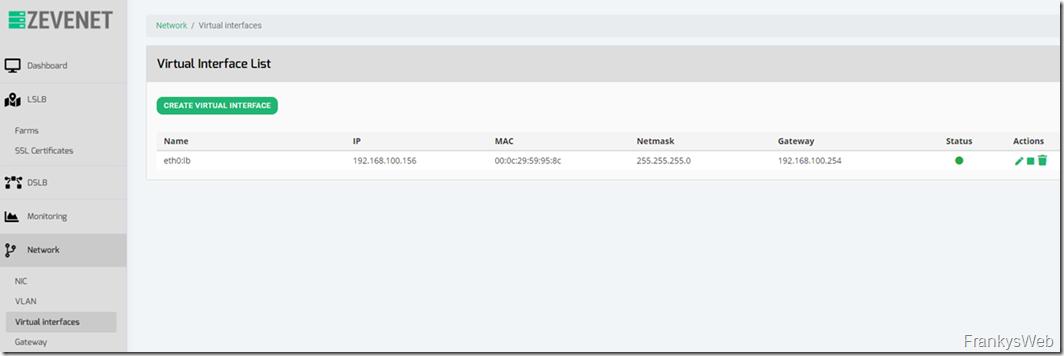
I have therefore configured a virtual interface with the next free IP:
Once the virtual interface has been created, it looks as follows:
This virtual interface can later be used for load balancing the Exchange Server.
Next, the certificate for the Exchange Server load balancing is uploaded. The certificate is used for the Exchange Server Virtual Service:
I have already issued the certificate to the names outlook.frankysweblab.de and autodiscover.frankysweblab.de and converted it to the PEM format. The Exchange Certificates Whitepaper contains corresponding HowTos.
After the certificate has been uploaded, it looks as follows in the overview:
A new farm (virtual service) can now be created:
The following settings are selected for the Exchange Farm:
The newly created farm can now be edited:
The listener is now switched to "https" in the farm settings. The outdated SSL and TLS protocols can be deactivated and the previously uploaded certificate is assigned:
The remaining settings can be left as they are. A new service can now be created in the "Services Settings" section of the farm (the name "Exchange" is a good choice):
The backend servers are now specified for the new service and the "HTTPS backends" option is activated:
The settings can now be saved with "Submit" and the farm should be available:
Under Monitoring you will now find a few statistics on the newly created farm:
This basically completes the configuration of Zevenet. On the DNS server, the DNS entries for outlook.frankysweblab.de and autodiscover.frankysweblab.de must now be changed to the IP of the farm:
If you click through the settings a little, you will quickly realize that Zevenet is a very simple load balancer. Very little can be configured, but this is completely sufficient for test environments. You wouldn't use the Community Edition for productive environments anyway.


Hallo Frank,
als Hinweis in Umgebungen wo ESXI NSX-T ist gerade schwer am kommen. Thema Netzwerk Segmentierung und und.
In NSX-T ist ebenfalls ein LB drin. Damit geht auch ganz viel.
Grüße