Microsoft has now also released Exchange Server 2019 CU14 for Windows Server 2025 released. Originally, CU15 for Windows Server 2025 was to be released first, but this step has now been brought forward.
The release of CU14 for Windows Server 2025 serves as preparation for the upgrade to Exchange Server SE. This means that existing Exchange Servers can now be migrated to Exchange 2019 on Server 2025. With the release of CU15 and Exchange SE, you will be on the latest operating system.
This article describes the installation of Exchange Server 2019 CU14 on Windows Server 2025.
Disable Windows Defender
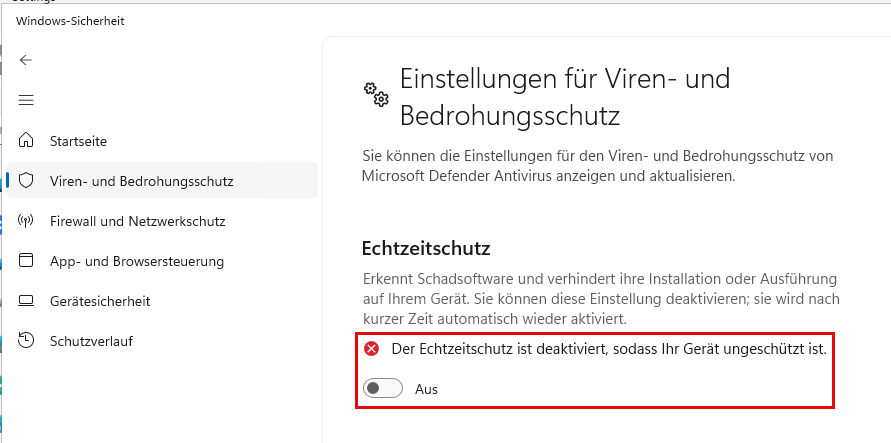
To speed up the Exchange installation process, Windows Defender should be switched off during the installation. After the Exchange installation, Windows Defender is switched on again. If another virus scanner is in use on the server, this should also be deactivated.
At the end of the article you will find the corresponding configuration with the exceptions for Windows Defender required for Exchange.
Install prerequisites
Before Exchange Server can be installed, some prerequisites must be installed. First of all, these are Windows features that can be easily installed using PowerShell:
Install-WindowsFeature Server-Media-Foundation, NET-Framework-45-Features, RPC-over-HTTP-proxy, RSAT-Clustering, RSAT-Clustering-CmdInterface, RSAT-Clustering-Mgmt, RSAT-Clustering-PowerShell, WAS-Process-Model, Web-Asp-Net45, Web-Basic-Auth, Web-Client-Auth, Web-Digest-Auth, Web-Dir-Browsing, Web-Dyn-Compression, Web-Http-Errors, Web-Http-Logging, Web-Http-Redirect, Web-Http-Tracing, Web-ISAPI-Ext, Web-ISAPI-Filter, Web-Metabase, Web-Mgmt-Console, Web-Mgmt-Service, Web-Net-Ext45, Web-Request-Monitor, Web-Server, Web-Stat-Compression, Web-Static-Content, Web-Windows-Auth, Web-WMI, Windows-Identity-Foundation, RSAT-ADDS

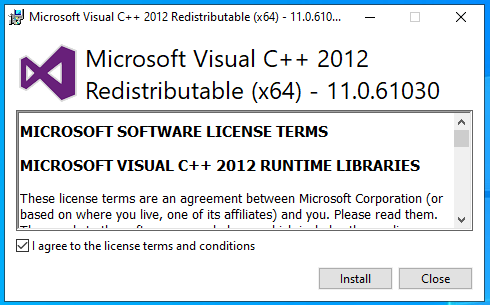
After the Windows features have been installed, the required C++ runtimes must be installed. The two packages can be downloaded here:
- Visual C++ Redistributable Package for Visual Studio 2012
- Visual C++ Redistributable Package for Visual Studio 2013
In addition, the IIS URL Rewrite Module is required in the 64-bit version. Here is the corresponding download link:

UCMA 4.0 must now be installed from the Exchange ISO. UCMA can be found in the ISO in the "UCMARedist" directory:
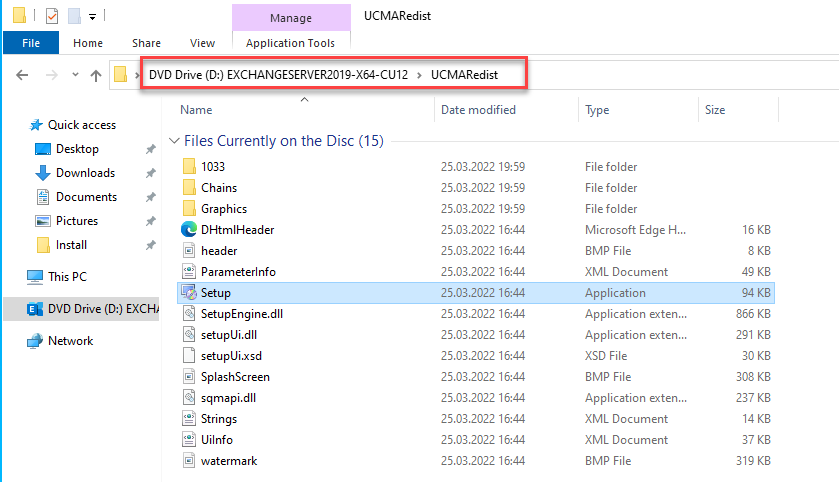
If the UCMA is installed, all prerequisites are installed. The server should now be restarted once.
Exchange Setup
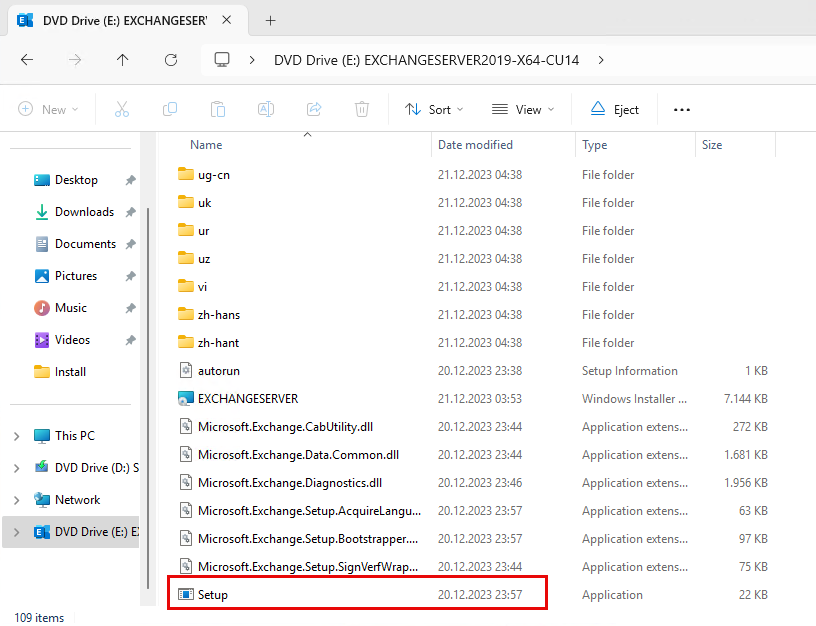
All the prerequisites for Exchange are now installed and you can start installing Exchange Server. To do this, the setup is started from the Exchange CU14 ISO:
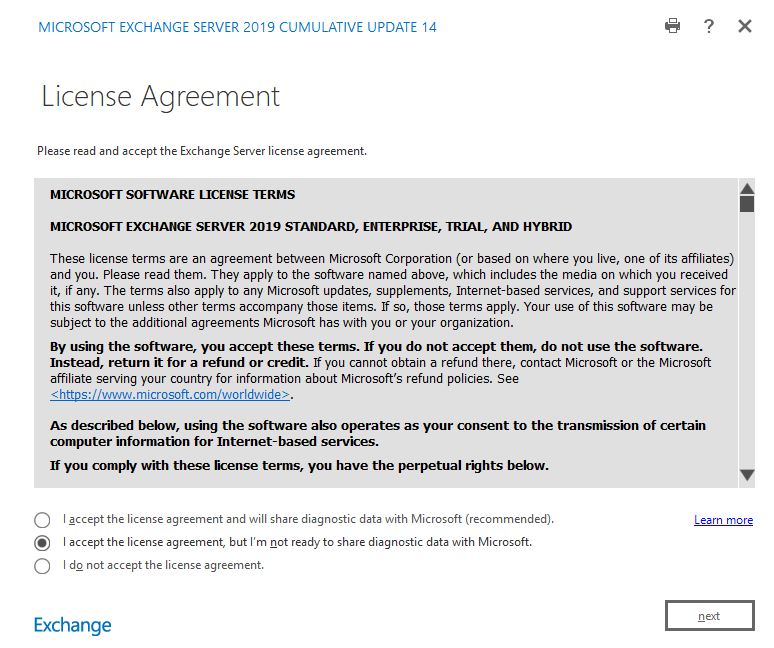
I have only taken screenshots of the relevant dialogs. You can specify quite early on whether diagnostic data may be sent to Microsoft:
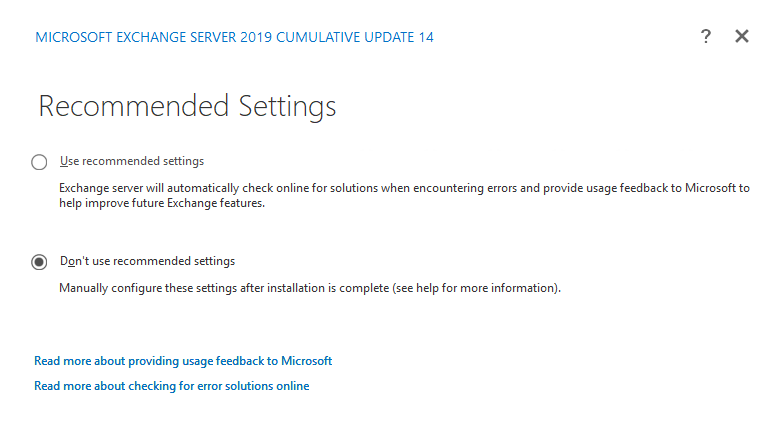
The recommended settings can be deselected here, giving you more control over the other setup settings:
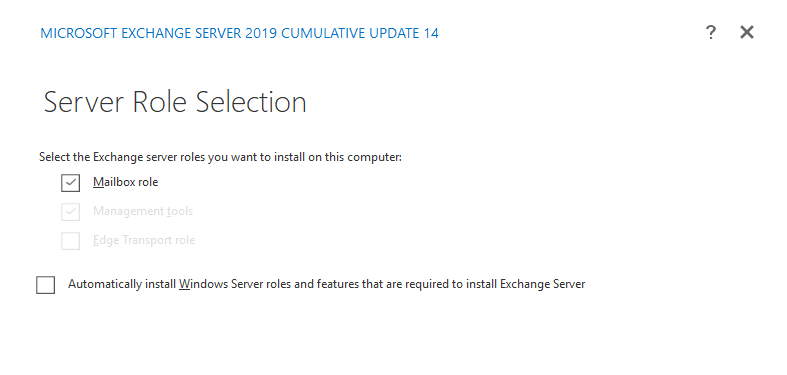
Only the mailbox role is required for an Exchange 2019 Standard installation:
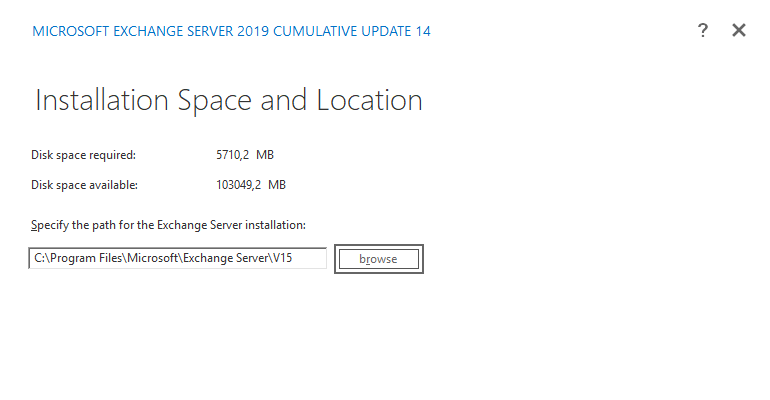
The next dialog asks for the installation path. I still recommend that you do not install the Exchange installation on C: but use a separate drive. In practice, C: for the system, D: for Exchange and other volumes for the databases have proven to be the best choice. As Exchange creates quite a lot of logs, the volume for Exchange should be at least 200 GB in size. A 100 GB C: drive is usually sufficient:
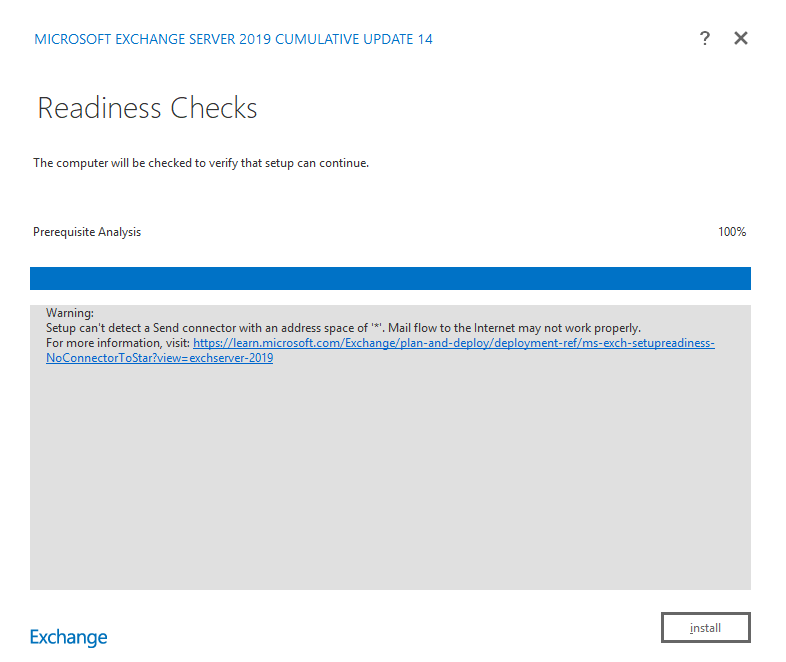
If it is a new Exchange organization, the next step asks for the name of the organization. If not, the readiness check is performed and Exchange can be installed:
The setup has now been running for a while:
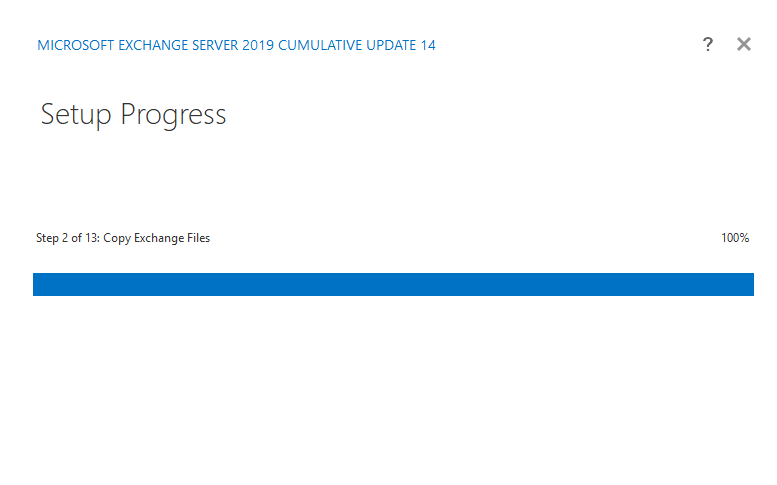
Tip: Estimate the approximate time required for the installation. Each Exchange CU basically performs a new installation of Exchange, so it can be an advantage if you know the time you need to allow for the installation of CUs. Just doing it during your lunch break could be tight.
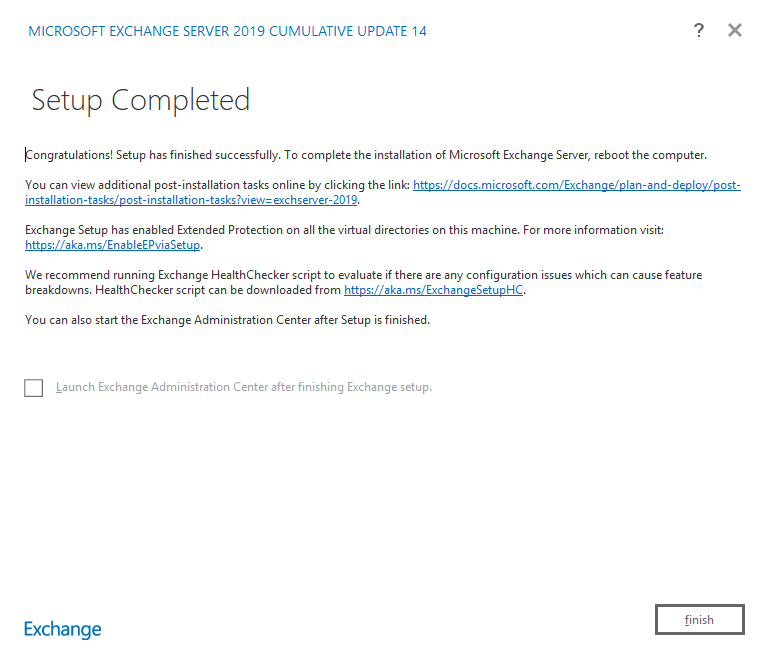
Install updates
After the Exchange Server installation, the security update from November 2024 can be installed directly, this update was current at the time of this article:
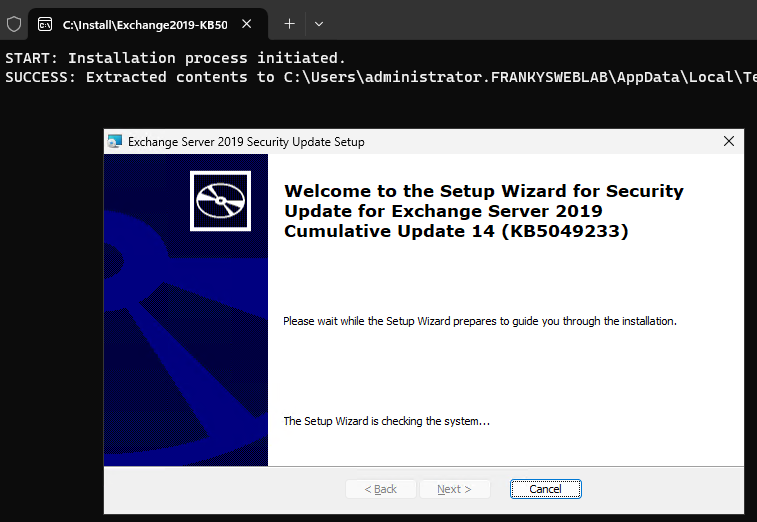
The latest security updates can be found on the "Exchange versions".
Activate and configure Windows Defender
Since the Defender was deactivated at the beginning of the installation, it is now time to configure and reactivate the Defender.
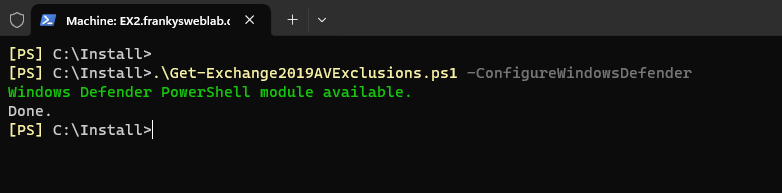
The script "Get-Exchange2019AVExclusions.ps1" can be downloaded and executed on the Exchange Server:
The script generates 3 lists with the necessary exceptions for virus scanners. These exceptions can also be used for other AV products. The script can also configure Windows Defender directly:
.\Get-Exchange2019AVExclusions.ps1 -ConfigureWindowsDefender
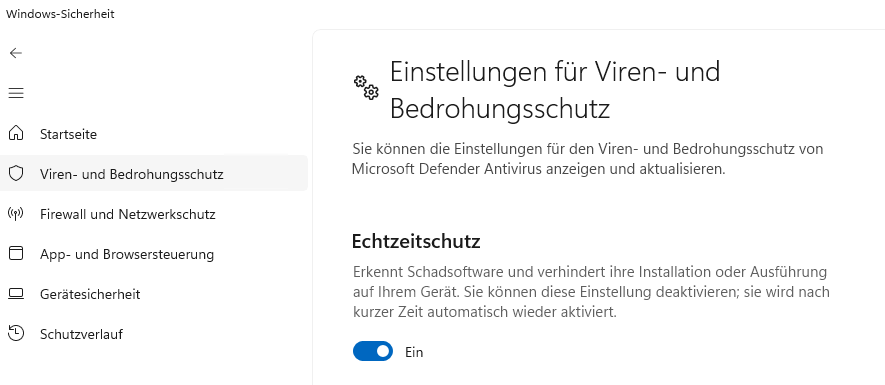
Finally, don't forget to switch Windows Defender back on:
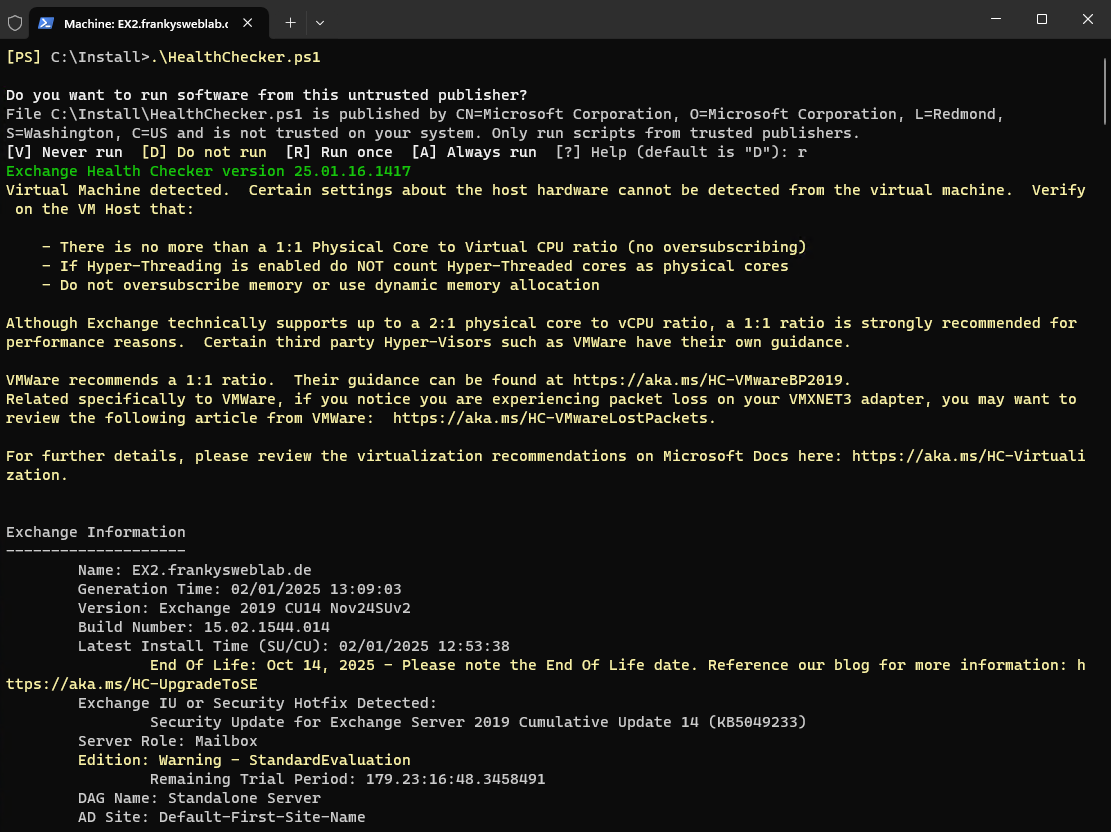
Exchange Health Checker
The installation is now complete, to avoid future problems, the Exchange Server Health Checker should be run. If warnings or errors occur, the Exchange Health Checker also provides a corresponding article on how to resolve the problem.