It's been quite a while since I wrote an article about the Exchange 2019 installation. The original article dealt with the installation on Windows Server 2019, but since Windows Server 2022 is now also supported by Exchange and a few small things have changed, here is a fresh article.
Disable Defender
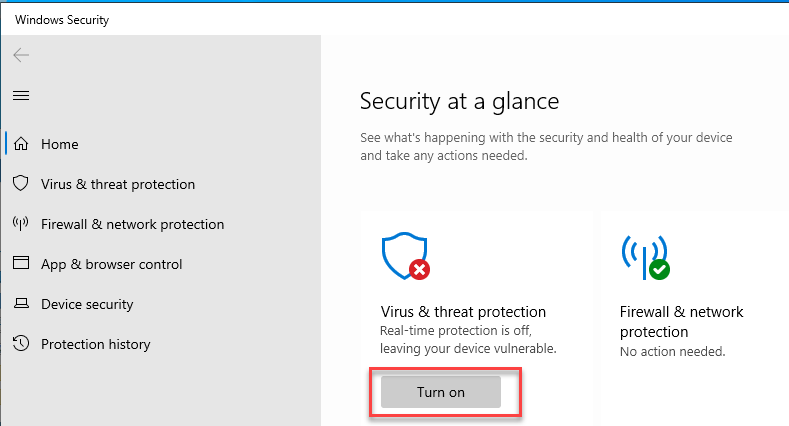
To speed up the Exchange installation process, Windows Defender should be switched off during the installation. After the Exchange installation, Windows Defender is switched on again. If another virus scanner is in use on the server, this should also be deactivated.
Windows Defender is included in the standard installation of Windows Server 2022 and can be deactivated via the Windows Security Center:
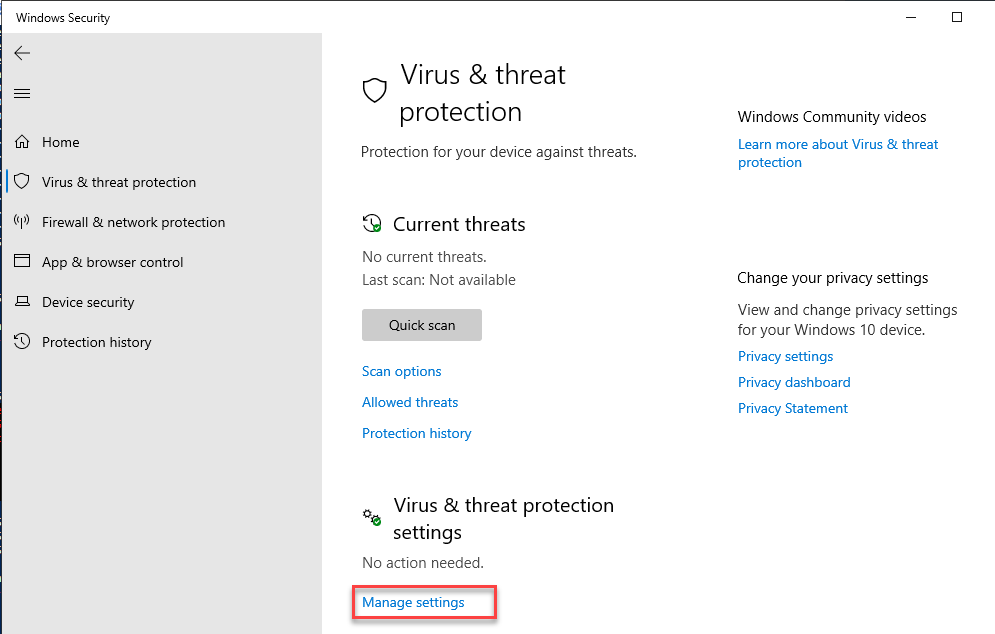
In this case, it is sufficient to switch off "Real-time protection":

At the end of the article you will find the corresponding configuration with the exceptions for Windows Defender required for Exchange.
Install prerequisites
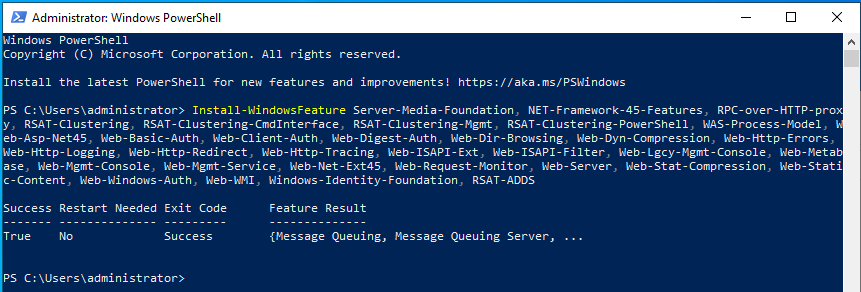
Before Exchange Server can be installed, some prerequisites must be installed. First of all, these are Windows features that can be easily installed using PowerShell:
Install-WindowsFeature Server-Media-Foundation, NET-Framework-45-Features, RPC-over-HTTP-proxy, RSAT-Clustering, RSAT-Clustering-CmdInterface, RSAT-Clustering-Mgmt, RSAT-Clustering-PowerShell, WAS-Process-Model, Web-Asp-Net45, Web-Basic-Auth, Web-Client-Auth, Web-Digest-Auth, Web-Dir-Browsing, Web-Dyn-Compression, Web-Http-Errors, Web-Http-Logging, Web-Http-Redirect, Web-Http-Tracing, Web-ISAPI-Ext, Web-ISAPI-Filter, Web-Lgcy-Mgmt-Console, Web-Metabase, Web-Mgmt-Console, Web-Mgmt-Service, Web-Net-Ext45, Web-Request-Monitor, Web-Server, Web-Stat-Compression, Web-Static-Content, Web-Windows-Auth, Web-WMI, Windows-Identity-Foundation, RSAT-ADDS
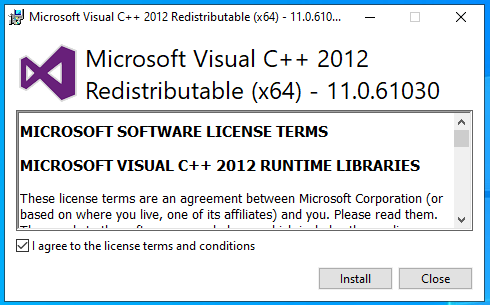
After the Windows features have been installed, the required C++ runtimes must be installed. The two packages can be downloaded here:
- Visual C++ Redistributable Package for Visual Studio 2012
- Visual C++ Redistributable Package for Visual Studio 2013
In addition, the IIS URL Rewrite Module in the 64 bit version is required. Here is the corresponding download link:

UCMA 4.0 must now be installed from the Exchange ISO. UCMA can be found in the ISO in the "UCMARedist" directory:
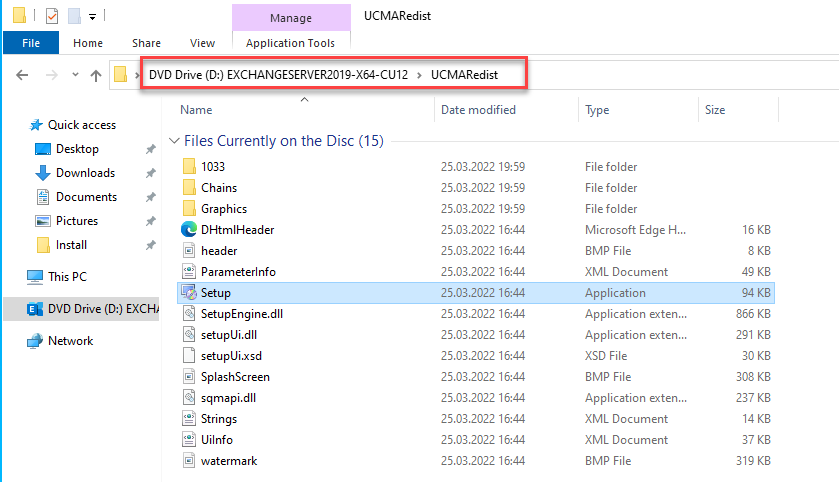
If the UCMA is installed, all prerequisites are installed. The server should now be restarted once.
Exchange Setup
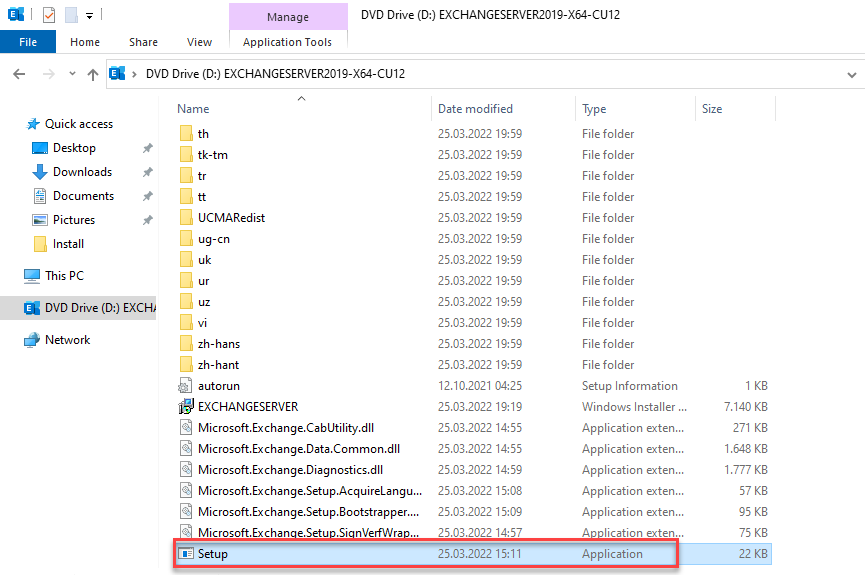
All the prerequisites for Exchange are now installed and the installation of Exchange Server can begin. To do this, the setup is started from the Exchange CU12 ISO:
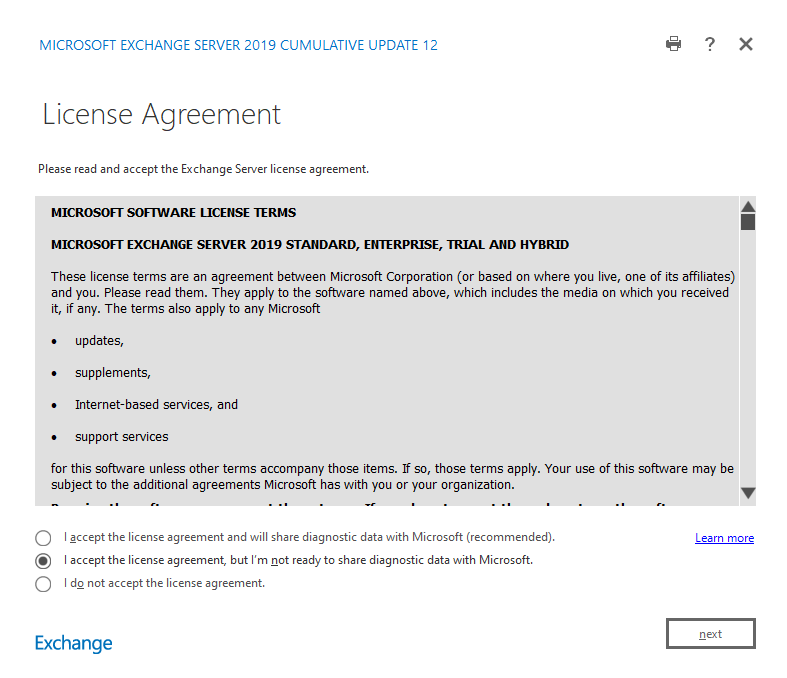
I have only taken screenshots of the relevant dialogs. You can specify quite early on whether diagnostic data may be sent to Microsoft:
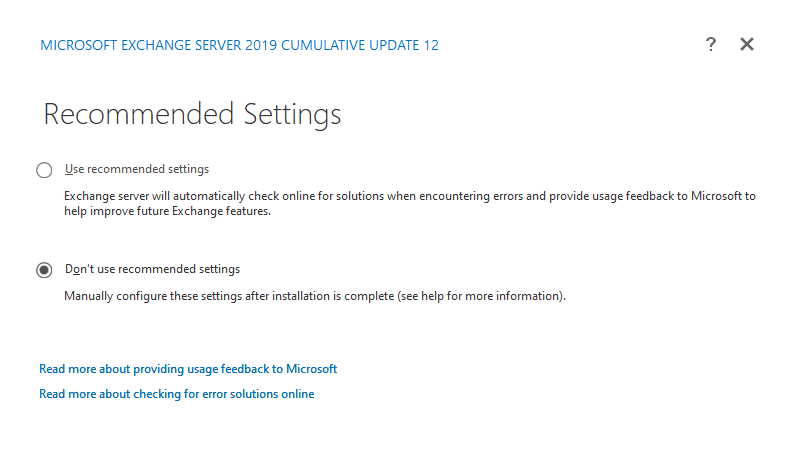
The recommended settings can be deselected here, giving you more control over the other setup settings:
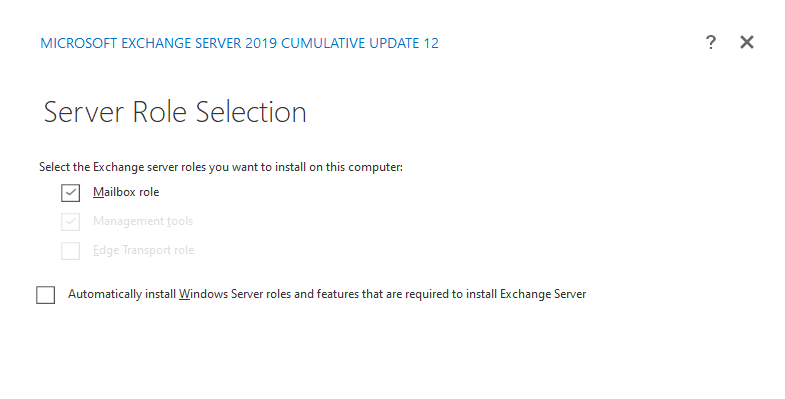
Only the mailbox role is required for an Exchange 2019 Standard installation:
The next dialog asks for the installation path. I still recommend that you do not install the Exchange installation on C: but use a separate drive. In practice, C: for the system, D: for Exchange and other volumes for the databases have proven to be the best choice. As Exchange creates quite a lot of logs, the volume for Exchange should be at least 200 GB in size. A 100 GB C: drive is usually sufficient:

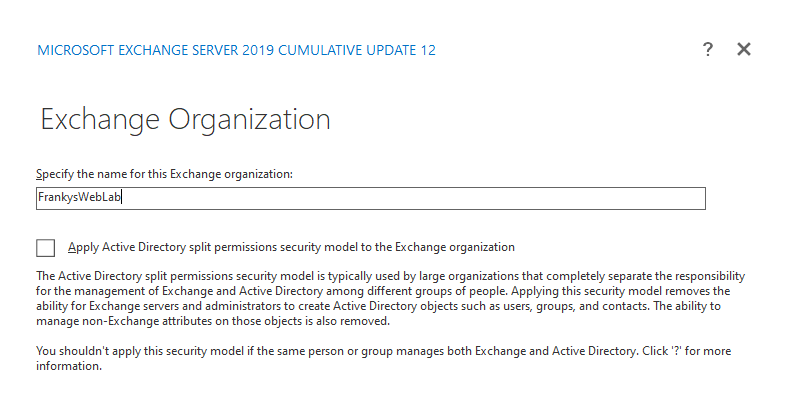
If it is a new Exchange organization, you will be asked for the name of the organization:
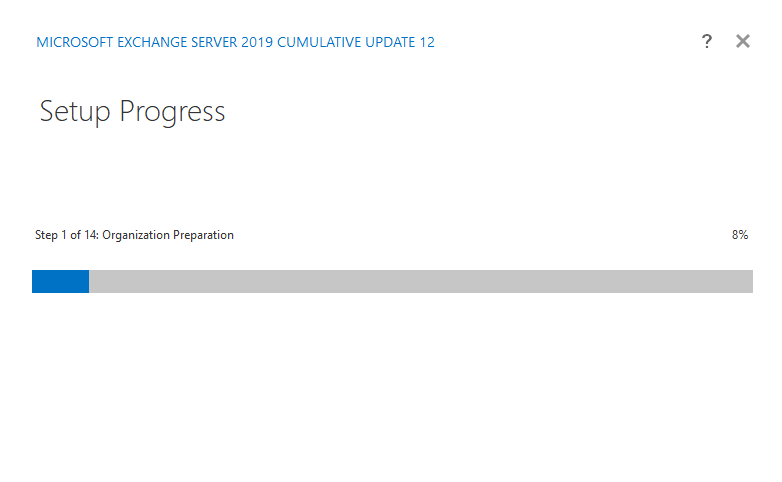
The installation can now be started. For a new Exchange organization, the two warnings are normal; they indicate that the Active Directory schema is being adapted by the setup for Exchange:

The setup has now been running for quite a while:
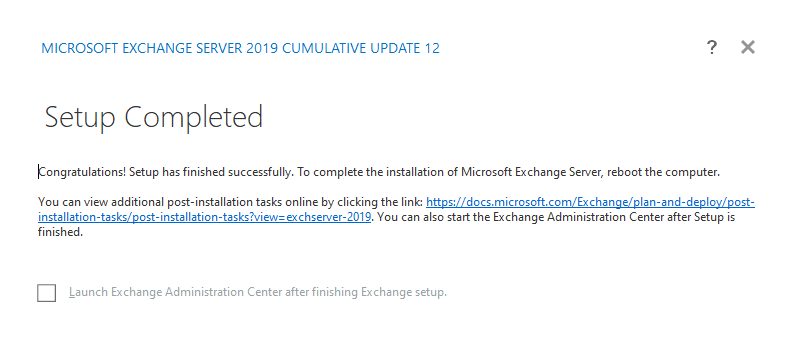
Tip: Estimate the time required for the installation. Each Exchange CU basically performs a new installation of Exchange, so it can be an advantage if you know the time you need to allow for the installation of CUs. Just doing it during your lunch break could be tight.
Install updates
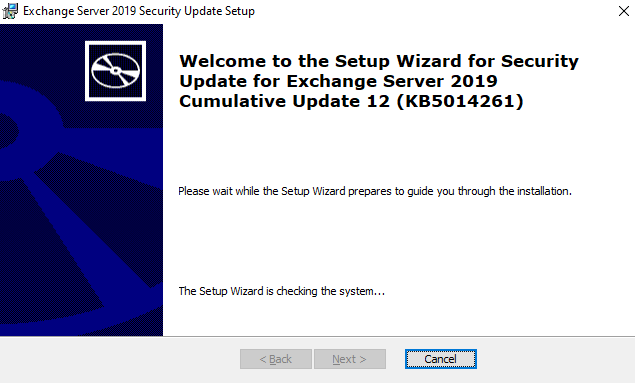
At the time of this article, there was already a security update for Exchange Server 2019 CU12. After installing Exchange, you should therefore check whether there are any further updates. In this case, the security update from May 2022 can be installed:
Here, too, it can't hurt to note the duration of the update. Exchange security updates can take different lengths of time, but it is always good as a rough indicator
Activate and customize Defender
Since the Defender was deactivated at the beginning of the installation, it is now time to configure and reactivate the Defender.
The script "Get-Exchange2016AVExclusions.ps1" by Paul Cunningham can be downloaded and saved on the Exchange server:
The script generates 3 lists with the necessary exceptions for virus scanners. These exceptions can also be used for other AV products. The script can also configure Windows Defender directly:

Finally, don't forget to switch Windows Defender back on:
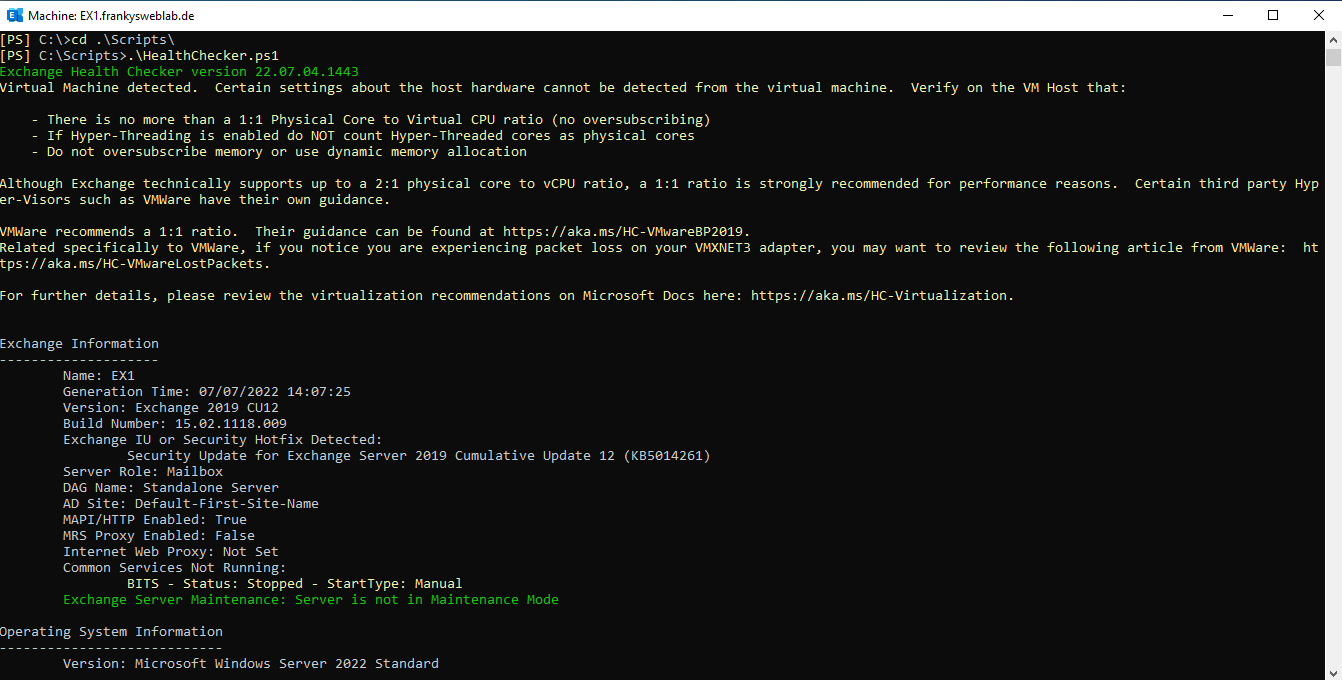
Exchange Health Checker
The installation is now complete, to avoid future problems, the Exchange Server Health Checker should be run. If warnings or errors occur, the Exchange Health Checker also provides a corresponding article on how to resolve the problem.
Exchange Health Checker can be downloaded here:

@franky, Du solltest ggf. den Link für die Virenscanner Ausnahmen auf Deinen Fork ändern, da dieser ja nicht mehr aktualisiert wird auf Git.
Danke für die ganzen Tipps, haben mir sehr geholfen
Patrick
Moin!
Ich hatte nach der Anleitung die Installation durchgefuehrt, konnte mich mit Fehler 500 aber nicht in der Webadmin-UI anmelden. Erst nachdem ich fuer alle Schnittstellen bzw. die Domaene die Firewall deaktiviert hatte, konnte ich die Web-UI nutzen. Welche Einstellungen kann ich vornehmen, damit ich auch bei laufender Firewall die UI erreichen kann. Das Ganze passiert in einer virtualisierten Umgebung zur Lernzwecken. Freue mich auf Feedback!
Danke Franky, für die Anleitung.
wir hatten schon immer eine Exchange 2019-Lizenz, haben aber nur Exchange 2016 genutzt, da die 2019er Version gerade erst frisch raus war, und keiner wusste, wie gut die funktioniert – neben der Hardwareanforderungen ;-)
Jetzt läuft Server 2012R2 aus dem extended Maintenance (10/2023) und wir upgraden gerade alle Server auf 2022 – nur Exchange 2016 ist dafür nicht freigegeben. Daher hat mir dieses Quick-Install-Guide sehr gut geholfen :-)
Jetzt muss ich den Mist nur noch von 2016->2019 migrieren :-(
Doof, dass beide Exchange-Versionen gleichzeitig 2025 auslaufen…
Ohne Dich wäre ich damals als Dienstleister vollkommen aufgeschmissen gewesen – also nochmal vielen Dank für all Deine Tipps in den vielen Jahren!
Danke für diesen hilfreichen Artikel. Ich musste eigentlich nur zum testen unserer Anwendung einen Exchange-Server in AWS aufsetzen und bin fast verzweifelt. Der „Quick Start“ von AWS ist leider alles andere als einfach und kostet auch noch jeden Tag ~20€ an Serverkosten. Ich bin regelrecht verzweifelt, da der Setup für mich, als jemand der nicht aus der Windows-Welt kommt, echt zu komplex war.
Mit dieser Anleitung konnte ich mir relativ problemlos einen Exchange auf einer Lightsail-Instanz installieren und kann jetzt endlich vernünftig testen. Die Anleitungen von Microsoft waren mir viel zu kompliziert. Danke für diese simpel gehalten Anleitung mit der auch ich zum Ziel gekommen bin.
Hallo Franky,
danke für deine Anleitung hier zur Installation von Exchange 2019 CU12 auf dem Server 2022.
Was mir hier doch auffällt, das hier keine Active Directory Schema Update durchgeführt wie noch bei Exchange 2016.
Ist dieser bei der Installation von Exchange 2019 CU12 nicht mehr notwendig??
Vielen Dank im voraus
& Viele Grüße
Markus
Hab´s herausgefunden: Es lag am Windows- Update KB5012170. Nach Deinstallation wieder alles ok.
Hallo,
ich möchte mich für die Anleitungen für Migration zu Exchange 2019 bedanken. Ich konnte so einen W2012/Exchange 2016 ablösen. Habe Exchange 2019 auf W2022 installiert. Die Migration hat vollständig geklappt. Der Zugriff von außen funktioniert. Ca. 1 Woche nach Außerbetriebnahme des alten Serbers kann ich keine NEUEN Outlook-Clients anbinden. Es kommt die Ferhlermeldung, dass „… keine verschlüsselte Verbindung mit dem E-Mail-Server…“ zur Verfügung steht. Die BESTEHENDEN Outlook-Clients arbeiten hervorragend. Ich weiß nicht mehr, wo ich ansetzen soll. Können Sie mir einen Tipp geben?
Vielen Dank im Voraus
Jürgen Hans
Danke @franky für das Freshup!
Was mich bei MS stets wundert, warum immer noch C++ 2012/2013 notwendig ist. Das ist doch nach den üblichen Lifecycle Policies von MS im Jan 10, 2023 bzw. Apr 9, 2024 EOS. Da muss MS sicherlich noch vor EOS von EX 2019 nochmals ran und aktualisieren. Müssen sie.